

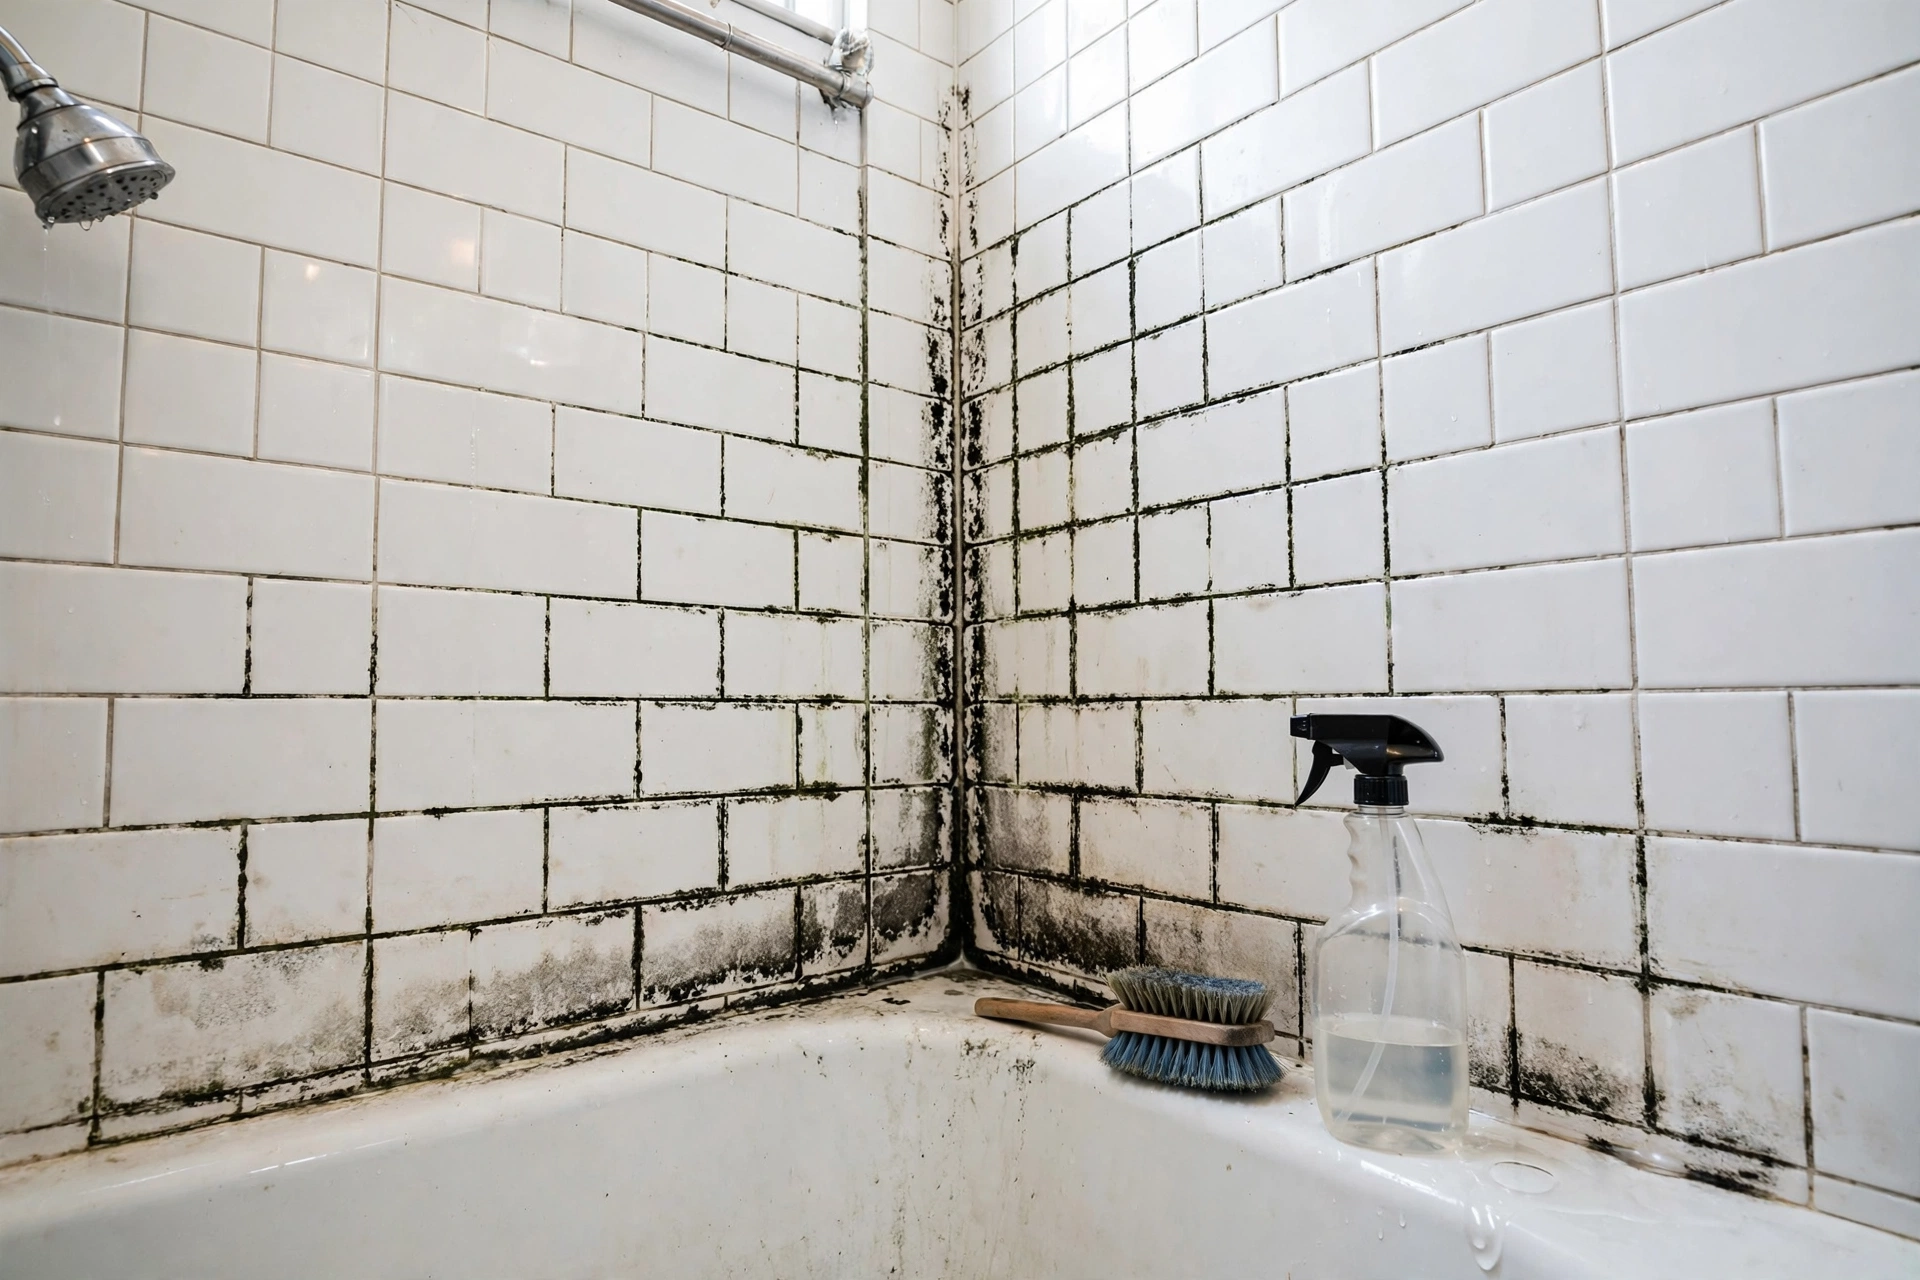
You step into the shower and notice it again: dark spots creeping along the grout lines, or the pinkish film collecting where the tub meets the tile. Bathroom mold is one of the most common household complaints, and it makes sense: bathrooms are warm, wet, and often poorly ventilated, exactly the environment mold needs to thrive.
The good news is that most bathroom mold is a surface problem you can handle yourself in an afternoon. The bad news is that scrubbing alone never fixes it for long: you have to deal with the moisture feeding it. This guide covers both, how to clean mold from grout, caulk, and tile, and the ventilation fixes that keep it from returning.
Why bathrooms grow mold so fast
Mold needs three things: moisture, warmth, and something to eat, and a bathroom delivers all three daily. Every hot shower fills the room with steam. Tile grout and drywall stay damp for hours, and soap residue plus skin cells give mold colonies a steady food supply.
Ventilation is usually the weak link. Many bathrooms have an exhaust fan that is too small, clogged with dust, or vented into the attic instead of outside (which just moves the problem; see our guide on mold in the attic). Some older bathrooms have no fan at all.
The result is predictable: surfaces stay damp long after the shower ends, and mold takes hold within a day or two of constant moisture. Our article on how fast mold grows after water damage explains the timeline in more detail.
Mold or mildew: what you are actually looking at
Homeowners often ask whether the discoloration in their bathroom is mold or mildew. Honestly, the distinction matters less than most people think. Mildew is a type of surface mold, usually powdery and gray or white; the black, green, or pink staining on grout and caulk is also mold, just a different variety.
Pink staining deserves a mention: that pink or orange film in showers is usually a bacteria called Serratia marcescens, not mold at all. It feeds on soap residue, and the cleaning approach is the same.
What matters more than the species is the location and extent. Surface staining on grout and caulk is a cleaning job, but mold spreading across drywall, soft or crumbling grout, or a musty smell that survives cleaning can mean moisture behind the tile. If the problem looks bigger than the surface, read our room-by-room black mold cleanup guide before tearing into walls.
What you need before you start
Bathroom mold cleanup does not require expensive equipment, but a little protection goes a long way. The CDC recommends basic precautions for small cleanups: gloves, eye protection, and an N95 mask if you are sensitive or the area is larger than a few square feet. Open a window or run the exhaust fan while you work.
Gather these supplies: rubber gloves, safety glasses, an N95 mask, a stiff grout brush or old toothbrush, white distilled vinegar and 3 percent hydrogen peroxide in spray bottles, baking soda, microfiber cloths, and a caulk remover tool with fresh bathroom-grade silicone caulk if you plan to recaulk.
Notice what is not on the list: bleach. Bleach whitens stains on non-porous surfaces but does not fully address mold roots in porous grout. We cover this in does bleach kill mold on drywall, and the same logic applies here.
Cleaning mold from grout, step by step
Grout is porous, so mold sends tiny roots (hyphae) into it. Surface wiping removes the visible stain but leaves the roots, which is why the spots come back in a few weeks. The goal is to kill the colony and pull out as much of it as possible.
Step 1: Spray with undiluted white vinegar
Spray the stained grout lines generously with undiluted white vinegar and let it sit for at least an hour. Vinegar is mildly acidic and penetrates porous grout better than most cleaners; do not rinse yet.
Step 2: Scrub with a baking soda paste
Mix baking soda with a little water into a thick paste and work it into the grout lines with your brush, scrubbing firmly along each line. The mild abrasion lifts dead mold and staining out of the pores; wipe clean with a damp microfiber cloth.
Step 3: Follow up with hydrogen peroxide
For stubborn staining that survived the first two steps, spray 3 percent hydrogen peroxide on the grout and let it sit 10 to 15 minutes. It will fizz slightly on contact. Scrub once more and rinse thoroughly; this sequence handles the vast majority of grout mold.
Step 4: Dry completely and seal
Dry the area fully with a clean towel, then run the exhaust fan for at least an hour. Once the grout is bone dry, apply a penetrating grout sealer; sealed grout absorbs far less moisture, which slows future growth. Reseal once a year in a heavily used shower.
Dealing with moldy caulk
Caulk is a different story. Silicone caulk is non-porous, but mold grows on the soap film sitting on top of it, and once staining works its way under the edges, no scrubbing will fix it. Rule of thumb: if the caulk is firmly attached and staining is only on the surface, clean it with the vinegar and peroxide method above. If it is peeling, cracked, or stained underneath, replace it.
Recaulking is straightforward. Cut out the old caulk completely, since new caulk will not stick to old residue. Clean the joint with vinegar and let it dry fully (a hair dryer speeds this up). Apply a continuous bead of bathroom-grade silicone caulk labeled mold or mildew resistant, smooth it with a wet finger, and let it cure for the full time on the tube, usually 24 hours, before using the shower.
Do not caulk over moldy caulk: it traps moisture underneath and the problem gets worse, not better.
Fixing the ventilation problem (the real long-term fix)
Cleaning is only half the job: if the bathroom stays humid for hours after every shower, the mold will be back within a month or two. Ventilation is the permanent fix, and it is simpler than most people expect.
Start with the exhaust fan. It should move at least 1 CFM per square foot, so a 60 square foot bathroom needs a 60 CFM fan at minimum. If your fan is weak, noisy, or more than 10 years old, replacing it costs $100 to $250. Clean the grille and duct yearly; a clogged fan barely moves air.
Just as important: run the fan correctly. Turn it on before the shower starts and leave it running 20 to 30 minutes afterward. A humidity-sensing switch or simple timer switch makes this automatic and costs less than $30. This single habit prevents more bathroom mold than any cleaning product.
Check where the fan vents: it must exhaust outside the house, through the roof or a gable wall. Fans vented into the attic dump warm moist air into a cold space, which grows mold on the roof sheathing.
Small habits help too: squeegee shower walls after use and fix dripping faucets. A slow drip keeps surfaces wet around the clock.
The EPA advises that the key to mold control is moisture control: fix leaks, dry damp areas within 24 to 48 hours, and ventilate moisture-generating areas to the outside. (Source: EPA mold cleanup guidance)
When bathroom mold means a bigger problem
Most bathroom mold is cosmetic, but a few signs point to something behind the walls. Call a professional for an assessment if you notice any of these:
- A musty smell that persists after thorough cleaning
- Grout that crumbles or tiles that feel loose or hollow
- Staining that spreads across drywall or the ceiling below the bathroom
- Mold covering more than about 10 square feet
- Anyone in the household with mold allergies or asthma reacting more strongly
The CDC’s cleanup guidance notes that larger mold problems, hidden mold, or mold in HVAC systems are jobs for professionals with proper containment. (Source: CDC mold cleanup tips) Water leaking behind tile can rot backer board and framing, a repair well beyond surface cleaning.
Frequently Asked Questions
Will bleach remove mold from shower grout?
Bleach whitens the stain but does not reliably kill mold roots in porous grout, so spots usually return within weeks. Vinegar followed by hydrogen peroxide penetrates better. For the full explanation, see our article on whether bleach kills mold on drywall, which covers the same science.
How do I keep mold from coming back after cleaning?
Ventilation is the answer. Run a properly sized exhaust fan during and for 30 minutes after every shower, squeegee the walls, and seal your grout yearly. Cleaning without fixing moisture is a temporary win.
Is it safe to clean bathroom mold myself?
For small areas of surface staining, yes, with gloves, eye protection, and ventilation. Wear an N95 mask if you are sensitive. Larger areas, hidden mold, or mold tied to a leak should be assessed by a professional.
Should I replace caulk or just clean it?
Clean it if staining is only on the surface and the caulk is firmly attached. Replace it if the caulk is peeling, cracked, or stained underneath.
Why does mold keep growing in the same spot?
Either moisture keeps reaching that spot (poor ventilation, a slow leak, condensation) or the cleaning never reached the roots in the porous material. Fix the moisture first, then clean thoroughly and seal.
Bottom line
Bathroom mold removal is a two-part job: clean what you can see with vinegar, baking soda, and hydrogen peroxide, then fix the moisture with proper ventilation so it stays gone. Recaulk where needed, seal grout yearly, and run the exhaust fan every shower. If the problem runs deeper than the surface, our guide on safe black mold cleanup will help you decide whether it is still a DIY job or time to call a pro.