

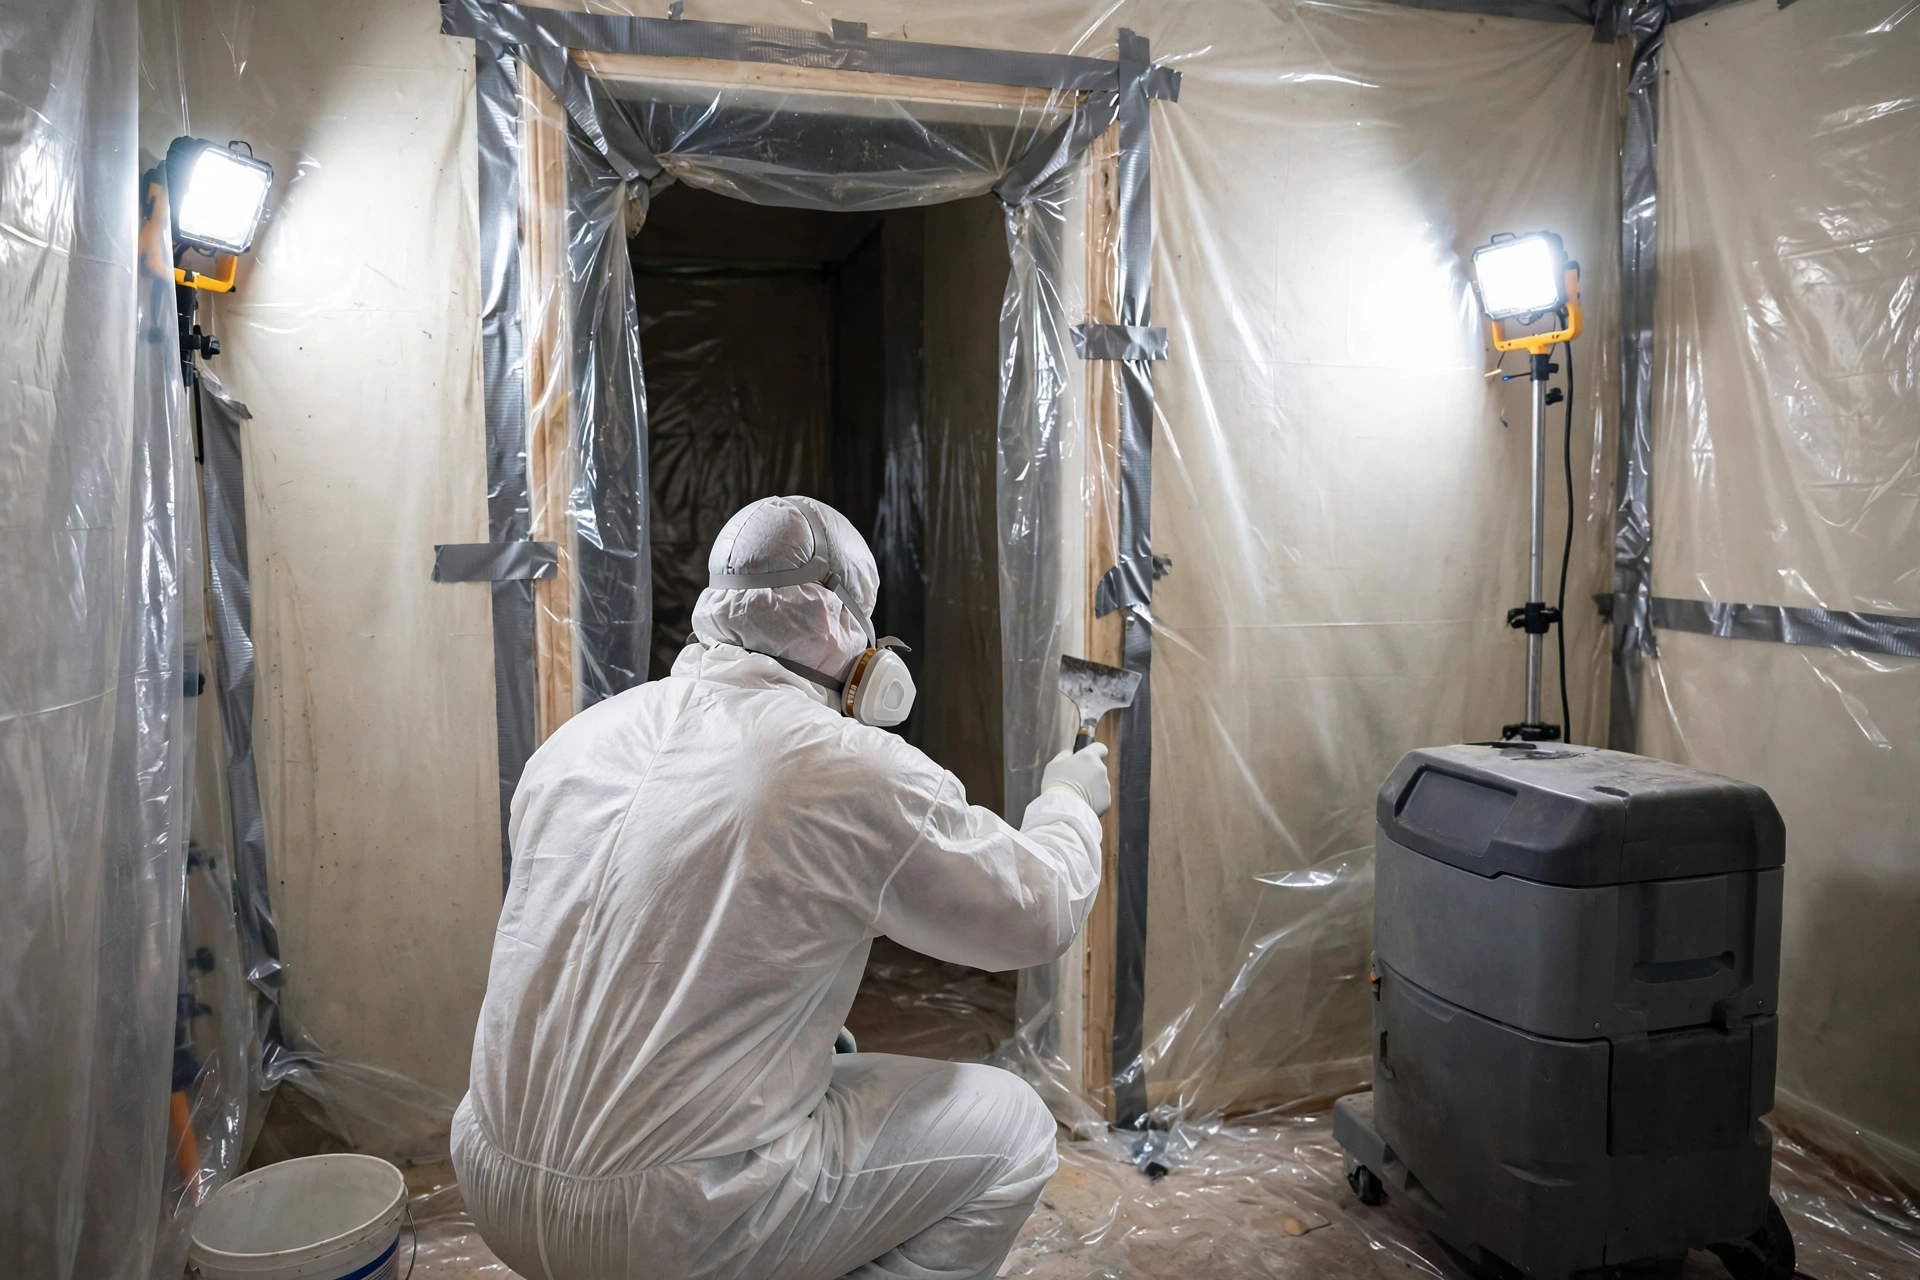
Professional mold remediation is not a guy with a spray bottle and a fresh coat of paint. It is a structured, multi-step process designed to remove mold colonies, capture airborne spores, fix the moisture that caused the problem, and verify the job actually worked. Knowing the steps helps you hire the right company, understand what you are paying for, and spot shortcuts.
Here is the full process, from the first inspection to final clearance, as defined by industry standards like the IICRC S520.
Step 1: Inspection and assessment
Everything starts with finding the full extent of the problem, including what you cannot see. A proper assessment includes a visual inspection, moisture meter readings of walls and floors, and often thermal imaging to find damp areas behind surfaces. The technician should identify the moisture source, because remediation without fixing the leak is just expensive theater.
You should receive a written scope: where the mold is, how large the affected area is, what materials are involved, and what the plan is. This documentation also matters for insurance. Mold can begin growing within 24 to 48 hours of water exposure, so the assessment should also establish how long the area has been wet, which affects how far the growth may have spread.
Step 2: Containment
Before anything is disturbed, the work area gets sealed off from the rest of your home. Technicians hang polyethylene sheeting over doorways, seal vents and openings, and cover the path in and out. For larger jobs, they create negative air pressure inside the containment zone using HEPA-filtered machines that exhaust air outside, so spores flow inward rather than escaping into your living space.
This step is the clearest dividing line between professionals and amateurs. Anyone who starts tearing out moldy drywall without containment is spreading the problem through your house. The EPA’s mold cleanup guidance describes containment as a core requirement, scaled to the size of the contamination.
Step 3: Air filtration
While containment is set up, HEPA air scrubbers run continuously inside the work zone. HEPA filtration captures particles down to 0.3 microns, which includes mold spores. This “air scrubbing” lowers the spore count in the work area during the dusty removal phase and continues through cleaning.
Workers also wear personal protective equipment throughout: respirators (typically N95 at minimum, often half-face with P100 filters for larger jobs), gloves, eye protection, and disposable coveralls. If a crew shows up for a significant mold job in street clothes with paper dust masks, send them home.
Step 4: Removal of contaminated materials
Porous materials with significant mold growth generally cannot be cleaned; they get removed. This typically includes moldy drywall (cut back to at least a foot or two beyond visible growth into clean material), insulation, carpeting and carpet pad, and sometimes sections of wood framing that are deeply colonized.
Removed material is bagged or wrapped inside the containment zone before being carried out, so spores are not trailed through the house. What counts as “significant” versus cleanable is a judgment call the standard guides: surface mold on hard, nonporous materials can be cleaned, while mold embedded in porous materials usually means removal. When choosing your remediation company, ask how they make that call and make sure the answer references industry standards rather than gut feeling.
Step 5: Cleaning and treatment
After removal, everything remaining in the work area gets cleaned systematically:
- HEPA vacuuming of all surfaces, including studs, subfloor, and the insides of wall cavities
- Damp wiping with detergent solutions to remove settled spores and fine dust
- Antimicrobial treatment of cleaned structural surfaces to inhibit regrowth
- Wood surfaces may be sanded, wire-brushed, or media-blasted (soda or dry ice) when mold has penetrated the surface
Note what is absent from this list: fogging a room with chemicals and calling it done. Fogging or spraying alone, without removal and HEPA cleaning, does not constitute remediation. Dead mold can still trigger allergic reactions, so killing without removing misses the point.
Step 6: Drying and dehumidification
With the mold removed, the structure must be dried to proper moisture levels. Commercial dehumidifiers and air movers run until moisture meter readings show materials have returned to dry standards, which the crew should document. This step is non-negotiable: rebuilding over damp framing guarantees a sequel.
Drying typically takes three to five days for a standard residential job, longer for extensive saturation. Daily monitoring readings should be logged; ask to see them. A company that cannot show you moisture logs is asking you to take dryness on faith.
Step 7: Repair and restoration
Only after the area is verified dry does reconstruction begin: new drywall, insulation, paint, flooring, and trim. Some remediation companies handle rebuilds in-house; others hand off to a general contractor. Either way, keep the remediation documentation separate from the rebuild contract, since insurance often treats them as distinct phases.
This is also the moment to fix the original moisture problem permanently: repair the leak, improve ventilation, add a dehumidifier, or regrade drainage. The best remediation in the world fails if the wall gets wet again next spring.
Step 8: Clearance verification
The final step confirms the job worked. At minimum, this means a visual inspection (no visible mold, no dust, no musty odor) and verified dry moisture readings. For larger or sensitive jobs, it includes post-remediation verification sampling: air or surface samples compared against outdoor baseline or pre-remediation levels.
Be aware of the limits of testing. The CDC’s mold cleanup guidance emphasizes thorough cleaning and drying over test-chasing, and clearance criteria should have been agreed upon before work started, not invented afterward. Get the clearance results in writing and keep them with your home records; future buyers and insurers may ask.
How long does it take, and what does it cost?
A small contained job (one bathroom, surface growth) can be done in one to three days. A multi-room remediation with material removal and rebuild typically runs one to three weeks. Costs scale with area, materials, and contamination type: expect roughly $500 to $1,500 for small jobs, $2,000 to $6,000 for moderate whole-room projects, and $10,000 or more for extensive multi-area remediation with reconstruction. Water category matters too: gray or black water contamination raises both the safety requirements and the price.
Frequently Asked Questions
Can I stay in the house during mold remediation?
Often yes, thanks to containment and negative air pressure, which isolate the work zone. For very large jobs, HVAC involvement, or if someone in the home has severe respiratory issues, the company may recommend staying elsewhere. Discuss this during the assessment, not after demolition starts.
Do I need mold testing before remediation?
Not always. If mold is visible and the moisture source is known, testing rarely changes the plan. Testing is most useful for hidden mold investigations, insurance documentation, landlord disputes, or medical follow-up. A company that insists on expensive testing before giving any plan may be padding the bill.
Will remediation get rid of the musty smell?
Proper remediation should eliminate the odor because it removes the source. If a musty smell persists after the job, something was missed: hidden growth, damp materials, or an unresolved moisture source. Do not accept “smells fade with time” for a lingering musty odor; call the company back.
Is it safe to just paint over mold with mold-resistant paint?
No. Paint seals mold in temporarily while it continues growing underneath, and it does nothing about airborne spores or the moisture source. Mold-resistant paint is a reasonable finishing step after proper remediation, not a substitute for it.
How do I know the company actually finished the job?
Demand the full documentation package: before/after photos, moisture logs showing dry readings, a description of materials removed, and clearance verification results. A professional hands this over without being asked twice.
What to do next
If you are facing a mold problem now, start with a proper assessment from a certified company, insist on containment and HEPA filtration in the plan, and never skip the drying verification step. Remediation done right is methodical and documented at every stage. Anything less is just expensive cleaning.