

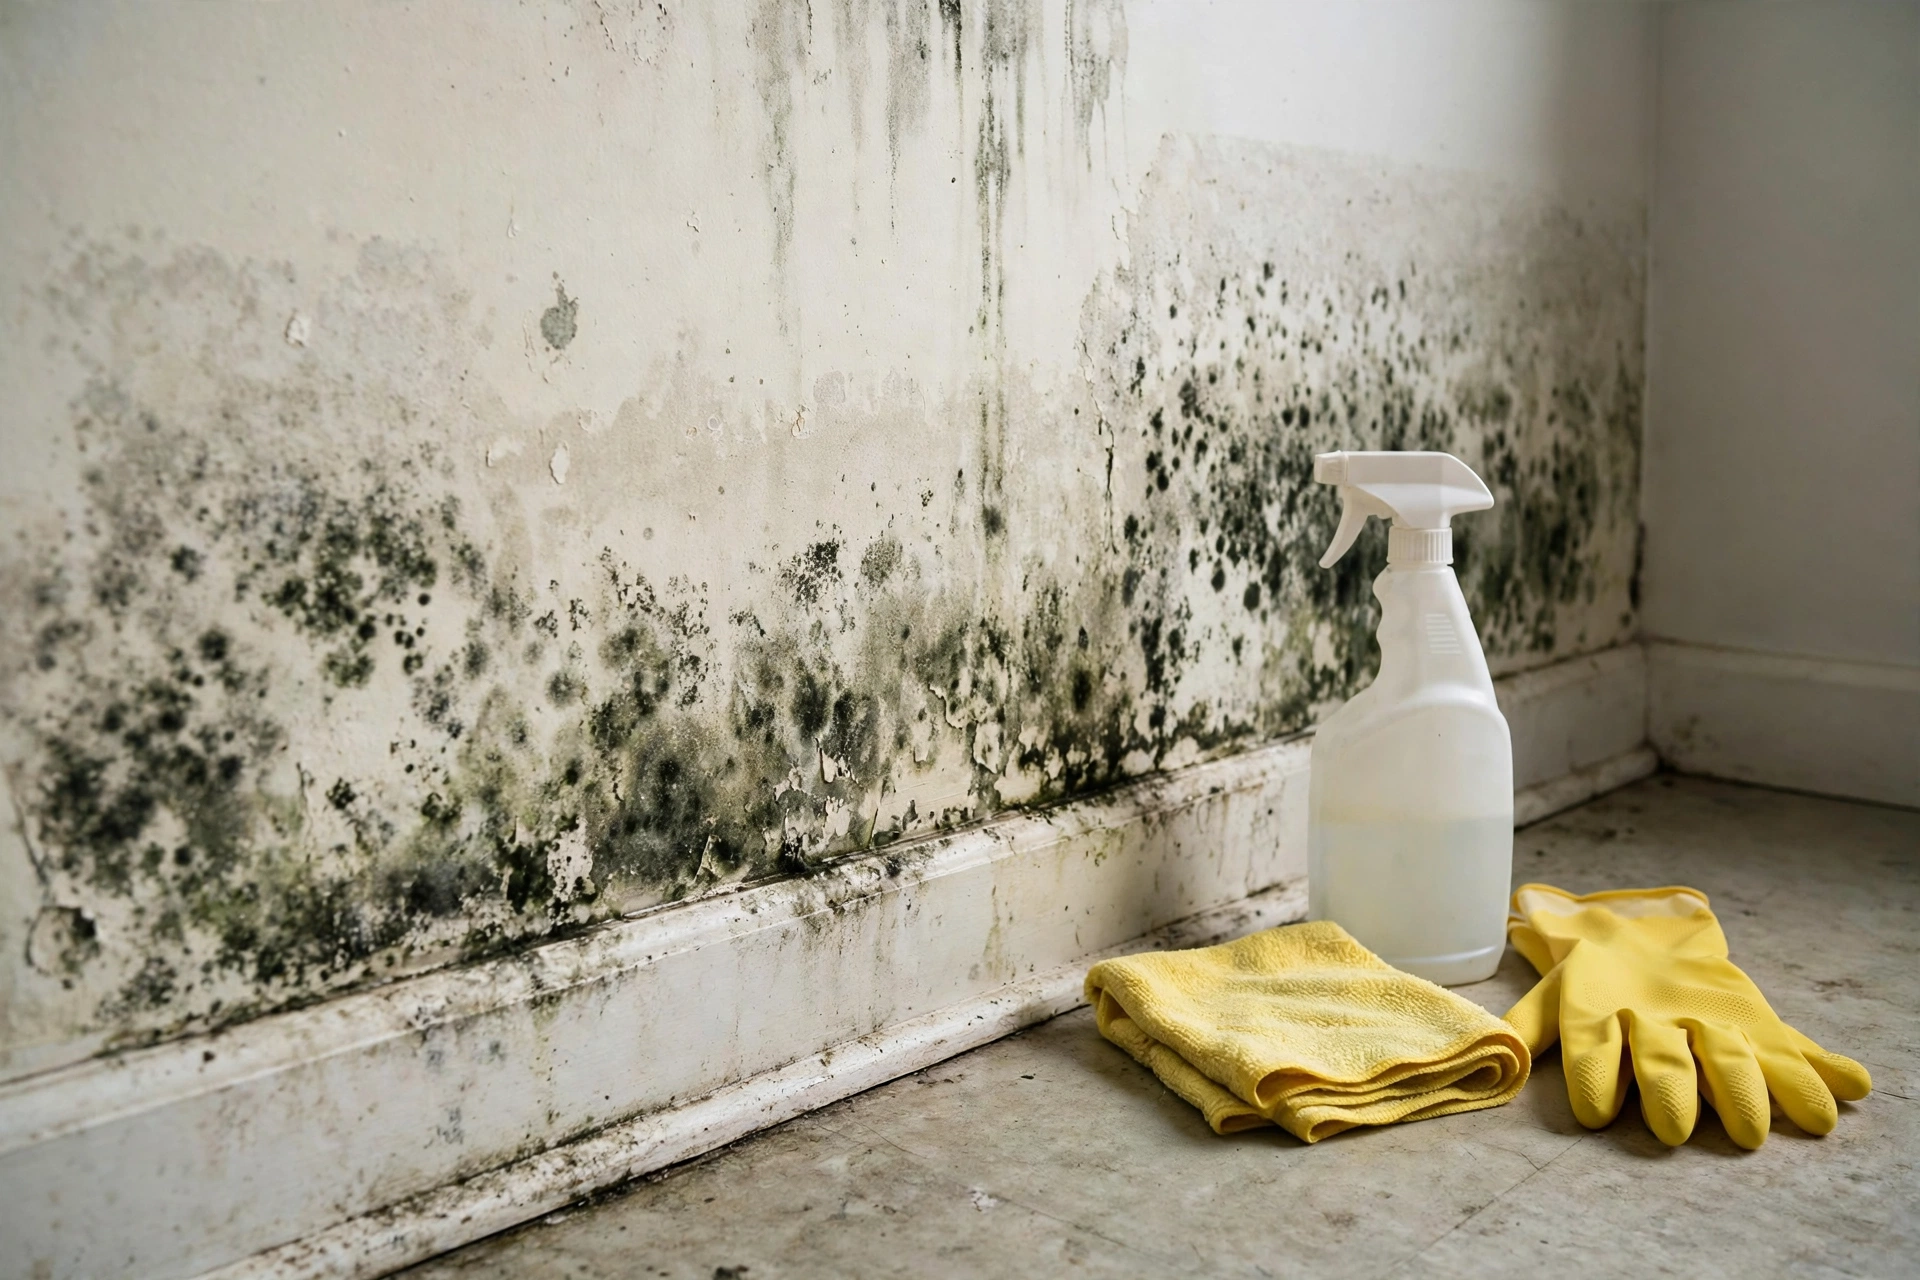
It is the first thing almost everyone reaches for. You spot dark spots spreading on the drywall, grab the bleach from under the sink, scrub the stain until it disappears, and assume the problem is solved. Two or three weeks later, the spots are back, sometimes worse than before.
This cycle is so common that it deserves a straight answer. Bleach can kill surface mold on hard, non-porous materials. On drywall, which is porous, it usually fails. The stain disappears because bleach is a whitener, not because the mold colony is dead. Here is what is actually happening, and what works instead.
The short answer
No, bleach does not reliably kill mold on drywall. It bleaches the color out of the stain, which looks like success, but the microscopic roots of the mold colony (called hyphae) live inside the porous gypsum and paper facing, where the bleach cannot reach in a useful concentration. The colony survives, and because bleach is mostly water, you have just fed the mold the moisture it needs to regrow.
This is not just theory. It is the reason mold keeps returning to the same spot after bleaching, and it is why professional remediators do not use bleach on drywall. If you want the full picture of proper cleanup, our room-by-room black mold cleanup guide walks through methods that actually address the roots.
Why bleach seems to work at first
Bleach (sodium hypochlorite) is a strong oxidizer and disinfectant. On a hard surface like tile, glass, or a bathtub, it contacts the entire mold colony and kills it. The problem is specific to porous materials: drywall, wood, grout, and ceiling tiles.
Household bleach is roughly 90 to 95 percent water. When you apply it to drywall, the chlorine component stays near the surface and evaporates quickly, while the water soaks deeper into the material. So the surface gets disinfected and whitened while the deeper roots get a drink. The EPA’s mold cleanup guidance notes that bleach is not recommended for porous materials for exactly this reason. (Source: EPA mold cleanup guidance)
There is a second issue. The chlorine in bleach evaporates, but it can leave behind salts and residues that do not inhibit regrowth. Some studies of mold remediation have found that bleached drywall regrows mold faster than untreated drywall in damp conditions, because the paper facing has been weakened and moistened.
Porous versus non-porous: the rule that decides everything
Think of mold cleanup in two categories:
- Non-porous surfaces (tile, glass, metal, sealed countertops, tubs): mold sits on the surface. Scrubbing with detergent, vinegar, or even bleach removes and kills the whole colony.
- Porous and semi-porous surfaces (drywall, unfinished wood, grout, carpet, ceiling tiles): mold roots penetrate the material. Surface treatments cannot reach the full colony.
This distinction explains the conflicting advice online. Someone who bleached mold off a shower door is telling the truth: it worked, because the door is non-porous. Someone who bleached mold on drywall and watched it return is also telling the truth. Both experiences are real; they just involved different materials.
Bathroom surfaces sit in the middle. Tile is non-porous but grout is porous, which is why our bathroom mold removal guide uses a different approach for grout lines than for tile faces.
What actually works on moldy drywall
For small areas of surface mold on drywall (less than about 10 square feet, no softness or crumbling), here is the approach that addresses the roots:
Step 1: Fix the moisture first
Mold on drywall means the drywall got wet. Find the source: a leak, condensation, or flooding. No cleaning method works permanently while the material stays damp. Mold can establish itself within 24 to 48 hours on wet drywall, so speed matters. (See how fast mold grows after water damage.)
Step 2: Protect yourself and contain the area
Wear gloves, goggles, and an N95 mask. For small jobs, closing the room door and running a fan exhausting out a window is reasonable containment. The CDC recommends these basic precautions for small cleanups. (Source: CDC mold cleanup tips)
Step 3: Scrub with detergent, not bleach
Scrub the area with a stiff brush and a solution of dish detergent and warm water. Detergent lifts the mold from the surface. This sounds less powerful than bleach, but on porous drywall it is more honest: you are removing what you can reach, not pretending to sterilize what you cannot.
Step 4: Treat with a penetrating antimicrobial
After scrubbing and drying, apply a product designed for porous materials. Concrobium and similar mold-control sprays are formulated to penetrate and leave a residual barrier as they dry. Hydrogen peroxide (3 percent) is a reasonable household alternative: spray it on, let it sit for 10 minutes, scrub lightly, and wipe. Our roundup of mold killers professionals actually use compares the options in detail.
Step 5: Dry thoroughly and monitor
Dry the area completely with fans and, if needed, a dehumidifier. Then watch the spot for two to four weeks. If staining returns, the roots survived inside the drywall, and the section needs to come out.
When drywall needs to be cut out and replaced
Here is the uncomfortable truth: once mold has grown through drywall, cleaning is often a temporary measure. Professionals routinely remove and replace moldy drywall rather than trying to save it, because the paper facing is literally food for mold and cannot be fully cleaned once colonized.
Cut out and replace the drywall when:
- The drywall is soft, crumbly, or warped
- Staining returns after a thorough cleaning and drying
- The mold covers more than about 10 square feet
- There was sewage, flooding, or long-term saturation involved
- You can smell mustiness inside the wall cavity
Removal is straightforward: cut at least 12 inches beyond the visible mold in all directions, bag the material, HEPA-vacuum the cavity, treat the studs with an antimicrobial, dry everything, then install new drywall. The EPA’s mold remediation guidance describes this approach for porous building materials. (Source: EPA mold guidance hub)
Where bleach does have a legitimate role
To be fair, bleach is not useless. It is effective for disinfecting non-porous surfaces after mold removal: wiping down the inside of a wall cavity’s framing is not the job, but cleaning tools, buckets, and hard surfaces is. Some pros use a diluted bleach solution as a final wipe on non-porous materials.
Bleach is also useful for its original purpose: laundry and disinfecting hard surfaces like floors and countertops. The mistake is treating it as a universal mold killer. Match the product to the material, and you will get better results with less effort.
The EPA states that mold should be cleaned off hard surfaces with detergent and water and allowed to dry completely, and that absorbent materials such as ceiling tiles that are moldy may need to be replaced. (Source: EPA mold cleanup guidance)
Frequently Asked Questions
Can I just paint over mold on drywall after bleaching it?
No. Paint traps moisture and the mold continues growing underneath, eventually bleeding through the new paint. Even mold-killing primers are meant for clean, dry surfaces as a preventive step, not as a cover-up for active colonies. Remove the mold first, then prime and paint.
Is vinegar better than bleach for mold on drywall?
Vinegar penetrates porous surfaces better than bleach and does not add as much moisture, so it is a better household option for small areas. But like any surface treatment, it cannot fully eliminate mold rooted deep in saturated drywall. Severely affected drywall should be replaced.
Why does the mold keep coming back in the same spot?
Either the moisture source was never fixed, or the colony’s roots survived inside the porous material. Bleach makes this worse by adding water while only whitening the surface. Fix the moisture, clean with a penetrating treatment, and replace drywall that keeps regrowing mold.
How much drywall should I cut out around mold?
The standard practice is to cut at least 12 inches beyond visible mold in every direction, because the colony extends further than the stain. Bag the removed material, HEPA-vacuum the cavity, treat the framing, and confirm everything is dry before installing new drywall.
Do I need to test the mold before cleaning it?
For small, visible surface mold, testing rarely changes what you do: you clean it or remove the material either way. Testing is more useful for hidden mold, real estate transactions, or health investigations. Save your money for proper remediation instead.
Bottom line
Bleach fails on drywall because drywall is porous: the chlorine stays on the surface while the water soaks in and feeds the roots you cannot see. For small areas, scrub with detergent, treat with a penetrating product like hydrogen peroxide or a dedicated mold-control spray, and dry thoroughly. For soft, recurring, or widespread growth, cut the drywall out and replace it. And whatever you do, fix the moisture first, because no cleaner, bleach included, can beat a material that stays wet. If the job is bigger than a few square feet, our black mold cleanup guide covers when to call a professional.