

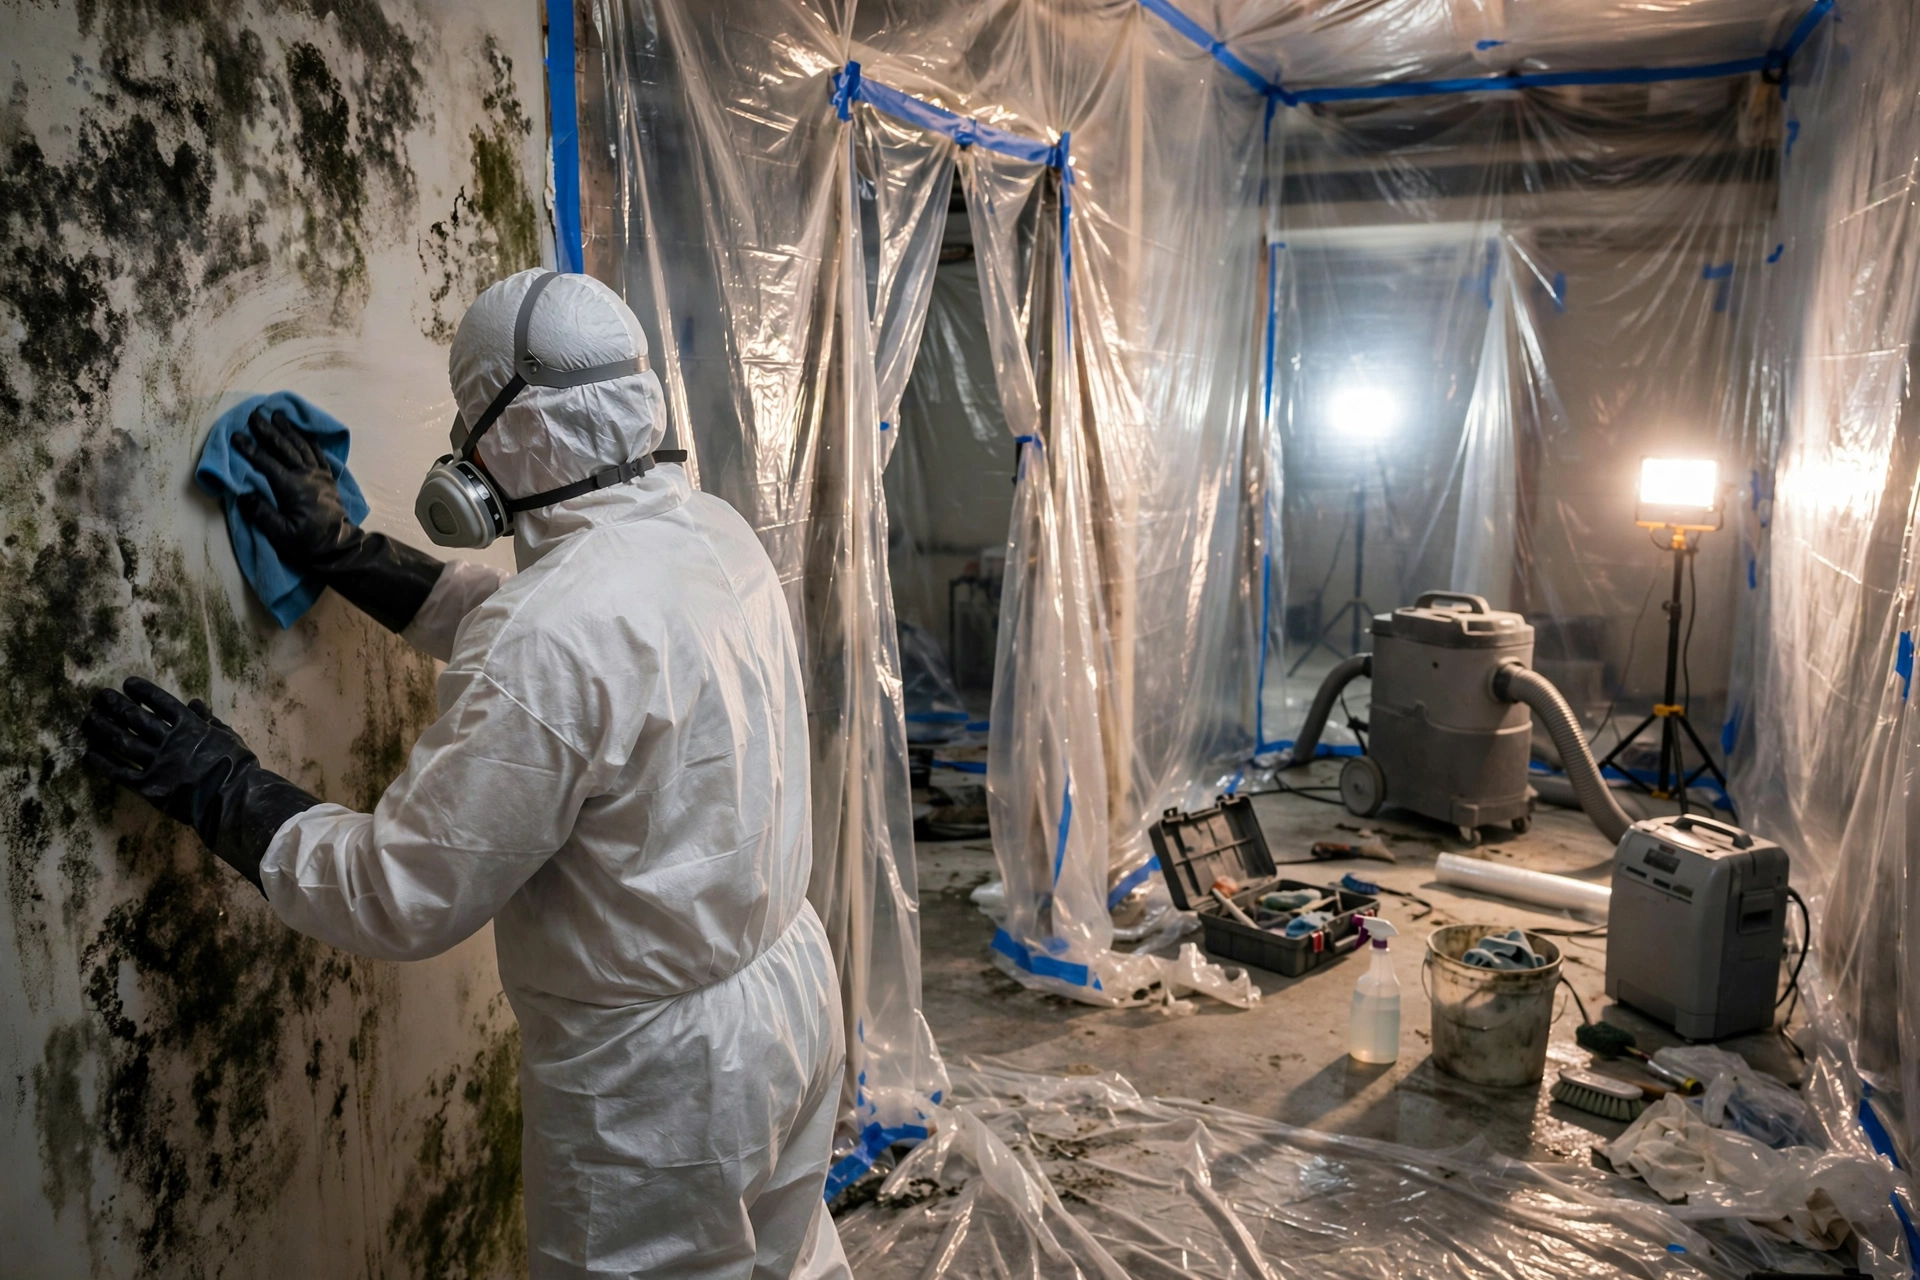
Walk down the cleaning aisle and you will find a dozen products promising to kill mold. Walk onto a professional remediation job and you will see a much shorter list. The gap between marketing claims and what works on walls is wide, and choosing wrong wastes money at best and leaves a live colony at worst.
This guide cuts through the noise: what professional remediators actually use on drywall, wood framing, and concrete walls, why they choose those products, and which popular options they skip. The right product depends on the wall material, so we will match products to surfaces as we go.
First, understand what “mold killer” means
There are two different jobs here, and products tend to do one better than the other. Killing means destroying the living colony. Removal means physically taking the mold (dead or alive) off the surface. Dead mold left in place can still trigger allergies, so killing without removing is only half a job.
On non-porous surfaces like tile or glass, almost any disinfectant does both jobs because the colony sits on the surface. On porous walls, no spray fully penetrates to the roots. That is why pros combine products with physical removal: HEPA vacuuming, scrubbing, and when needed, cutting out the material. Keep this in mind as you read product claims. No spray resurrects rotted drywall.
What the pros reach for first: the unglamorous basics
Before any chemical, professional crews start with physical removal. A HEPA vacuum removes loose spores and mold fragments from the wall surface without blowing them around the room. Then comes scrubbing with a simple detergent solution, which sounds too basic to work but removes the bulk of surface mold on any material.
Only after physical removal do pros apply an antimicrobial treatment. The order matters: chemicals work better on a surface that has already been cleaned, and you avoid the mistake of “killing” a thick layer of mold that then stays on the wall. The EPA’s cleanup guidance follows this same sequence of removing mold before treating. (Source: EPA mold cleanup guidance) For the full DIY process, our black mold cleanup guide walks through each stage.
Concrobium Mold Control: the pro favorite for homeowners
Ask remediation contractors which over-the-counter product they recommend to homeowners and Concrobium comes up more than any other. It is a patented formula based on sodium carbonate chemistry that crushes mold colonies as it dries and leaves an invisible antimicrobial barrier on the surface.
Why pros like it: it dries into porous material rather than evaporating off the surface, and it contains no bleach, ammonia, or harsh fumes. Spray it on, let it air dry, and the residual barrier keeps inhibiting regrowth.
Best for: drywall (surface mold), wood framing, concrete and block walls, and as a preventive treatment after drying out a water-damaged area. Limitations: it will not save drywall that is soft or heavily colonized, and like every product here, it cannot fix an ongoing moisture problem. A gallon typically costs $30 to $40.
Hydrogen peroxide (3 percent): the best household option
Standard drugstore hydrogen peroxide is one of the most effective household mold treatments. It is an oxidizer that kills mold on contact, breaks down into water and oxygen (no toxic residue), and penetrates porous surfaces better than bleach.
How to use it: spray undiluted 3 percent hydrogen peroxide directly on the moldy area, let it sit for 10 to 15 minutes, scrub with a brush, then wipe clean. For textured walls, a second application helps. It can lighten some surfaces, so test in an inconspicuous spot first.
Best for: small areas of surface mold on drywall, grout, and wood. It is cheap, widely available, and genuinely effective. Limitations: no residual protection against regrowth, and it can lighten some finishes.
White distilled vinegar: the budget workhorse
Undiluted white vinegar (5 percent acidity) kills a large percentage of mold species on contact and penetrates porous materials reasonably well. Countless DIY mold guides recommend it, and unlike many internet remedies, this one has real merit.
How to use it: spray undiluted vinegar on the moldy wall, leave it for at least an hour without rinsing, then scrub and wipe. The smell fades as it dries. For grout and tile, follow with a baking soda scrub for stain lifting, as described in our bathroom mold removal guide.
Best for: surface mold on grout, tile, and small drywall spots, especially when you want the cheapest effective option. Limitations: the smell bothers some people, it can etch natural stone, and like peroxide it offers no lasting barrier. Never mix vinegar with bleach; the combination releases toxic chlorine gas.
Borax: the old-school preventive
Borax (sodium borate) is a naturally occurring mineral that kills mold and leaves a residue that inhibits future growth. Pros sometimes use it as a final treatment on wood framing after remediation: the borate soaks into the wood, making it inhospitable to mold long-term.
How to use it: dissolve one cup of borax per gallon of hot water, apply to the cleaned surface with a brush or sprayer, and do not rinse; the remaining film is the point. Keep it away from plants and pets during application, and do not use it on surfaces where the white residue would show.
Best for: unfinished wood framing, crawl spaces, and concrete walls as a preventive treatment. Limitations: the residue shows on finished surfaces, so keep it to unfinished areas.
Commercial antimicrobials: Microban and similar
Products like Microban, Fiberlock Shockwave, and Benefect are professional-grade antimicrobials used by remediation companies. They are EPA-registered disinfectants with proven kill claims against mold, formulated for use on building materials.
These are effective, but there are caveats for homeowners. Some require specific dwell times and application methods to work as labeled, and concentrates need proper dilution. For most DIY jobs under 10 square feet, Concrobium or hydrogen peroxide delivers comparable results with less hassle. The EPA’s mold guidance hub is a good reference for matching methods to situations. (Source: EPA mold guidance)
Where commercial antimicrobials earn their place is in larger jobs and on framing lumber after wall removal, where a contractor wants a registered product with documented efficacy. If you are hiring a pro, it is reasonable to ask which antimicrobial they use and why.
What pros avoid, and why
Bleach on porous walls is the big one. As we explain in does bleach kill mold on drywall, the chlorine stays on the surface while the water soaks in, whitening the stain without killing the roots. Pros do not use it on drywall, wood, or grout.
Foggers and “mold bombs” are another skip. They spray a fine mist of antimicrobial through the air, which sounds thorough but only treats surfaces the mist lands on. Fogging does not remove mold, does not address roots in porous materials, and gives a false sense of completion. Pros use fogging only as a supplement after physical remediation, never as the remediation itself.
Paint or primer over active mold is the third mistake. Even “mold killing primer” is designed for clean, dry surfaces as prevention. Painting over a live colony traps moisture and the mold grows through. Remove the mold first, then prime.
Matching the product to your wall
Quick reference for common wall materials:
- Painted drywall, surface mold: detergent scrub, then hydrogen peroxide or Concrobium. Replace if soft or recurring.
- Tile and grout: vinegar soak, baking soda scrub, peroxide follow-up. Seal grout after.
- Unfinished wood framing: HEPA vacuum, detergent scrub, then Concrobium or borax solution as a residual treatment.
- Concrete and block walls: scrub with detergent, treat with Concrobium or peroxide. Address the water intrusion behind the wall or it returns.
- Wallpapered walls: wallpaper over mold usually means the drywall behind it is affected. Strip a section to inspect; replacement is common.
Remember the timeline: mold establishes itself within 24 to 48 hours on damp materials, so the best “product” is speed. Our article on mold growth timing explains why fast drying beats every chemical.
The CDC advises scrubbing mold off hard surfaces with detergent and water and drying completely, and notes that absorbent materials may need to be discarded. (Source: CDC mold cleanup tips)
Frequently Asked Questions
What is the strongest mold killer I can buy?
For homeowners, Concrobium Mold Control is the strongest practical option: it penetrates porous surfaces and leaves a preventive barrier. Commercial antimicrobials like Shockwave are stronger on paper but require proper application. No product overcomes saturated or rotted material, which must be removed.
Can I use vinegar and hydrogen peroxide together?
Use them sequentially, not mixed. Apply one, let it work, wipe, then apply the other. Mixing them creates peracetic acid, which can irritate skin and lungs. Sequential use is safe and effective.
Do I need to rinse after using Concrobium?
No. Concrobium is designed to be left on the surface; the residual barrier is part of how it works. Let it air dry completely. The same applies to borax solutions used as preventive treatments.
Will these products remove mold stains?
Killing mold and removing stains are different jobs. Peroxide and baking soda scrubs lift staining well. For heavy staining on drywall, replacement is usually the better answer anyway.
When should I stop DIYing and call a professional?
Call a pro when mold covers more than about 10 square feet, keeps returning after treatment, involves sewage or flooding, or sits inside wall cavities or HVAC systems. If water damage caused the mold, you may also have an insurance claim worth filing; see our guide on filing a water damage insurance claim.
Bottom line
Pros clean first and treat second, using HEPA vacuums and detergent before any chemical. For the treatment step, Concrobium is the best all-around product for walls, hydrogen peroxide the best household alternative, and vinegar handles budget jobs. Skip bleach on porous surfaces, skip foggers as a primary method, and never paint over active mold. Match the product to the wall material, fix the moisture, and replace drywall that is soft or keeps regrowing mold. Done in that order, most wall mold is a weekend project, not a crisis.