

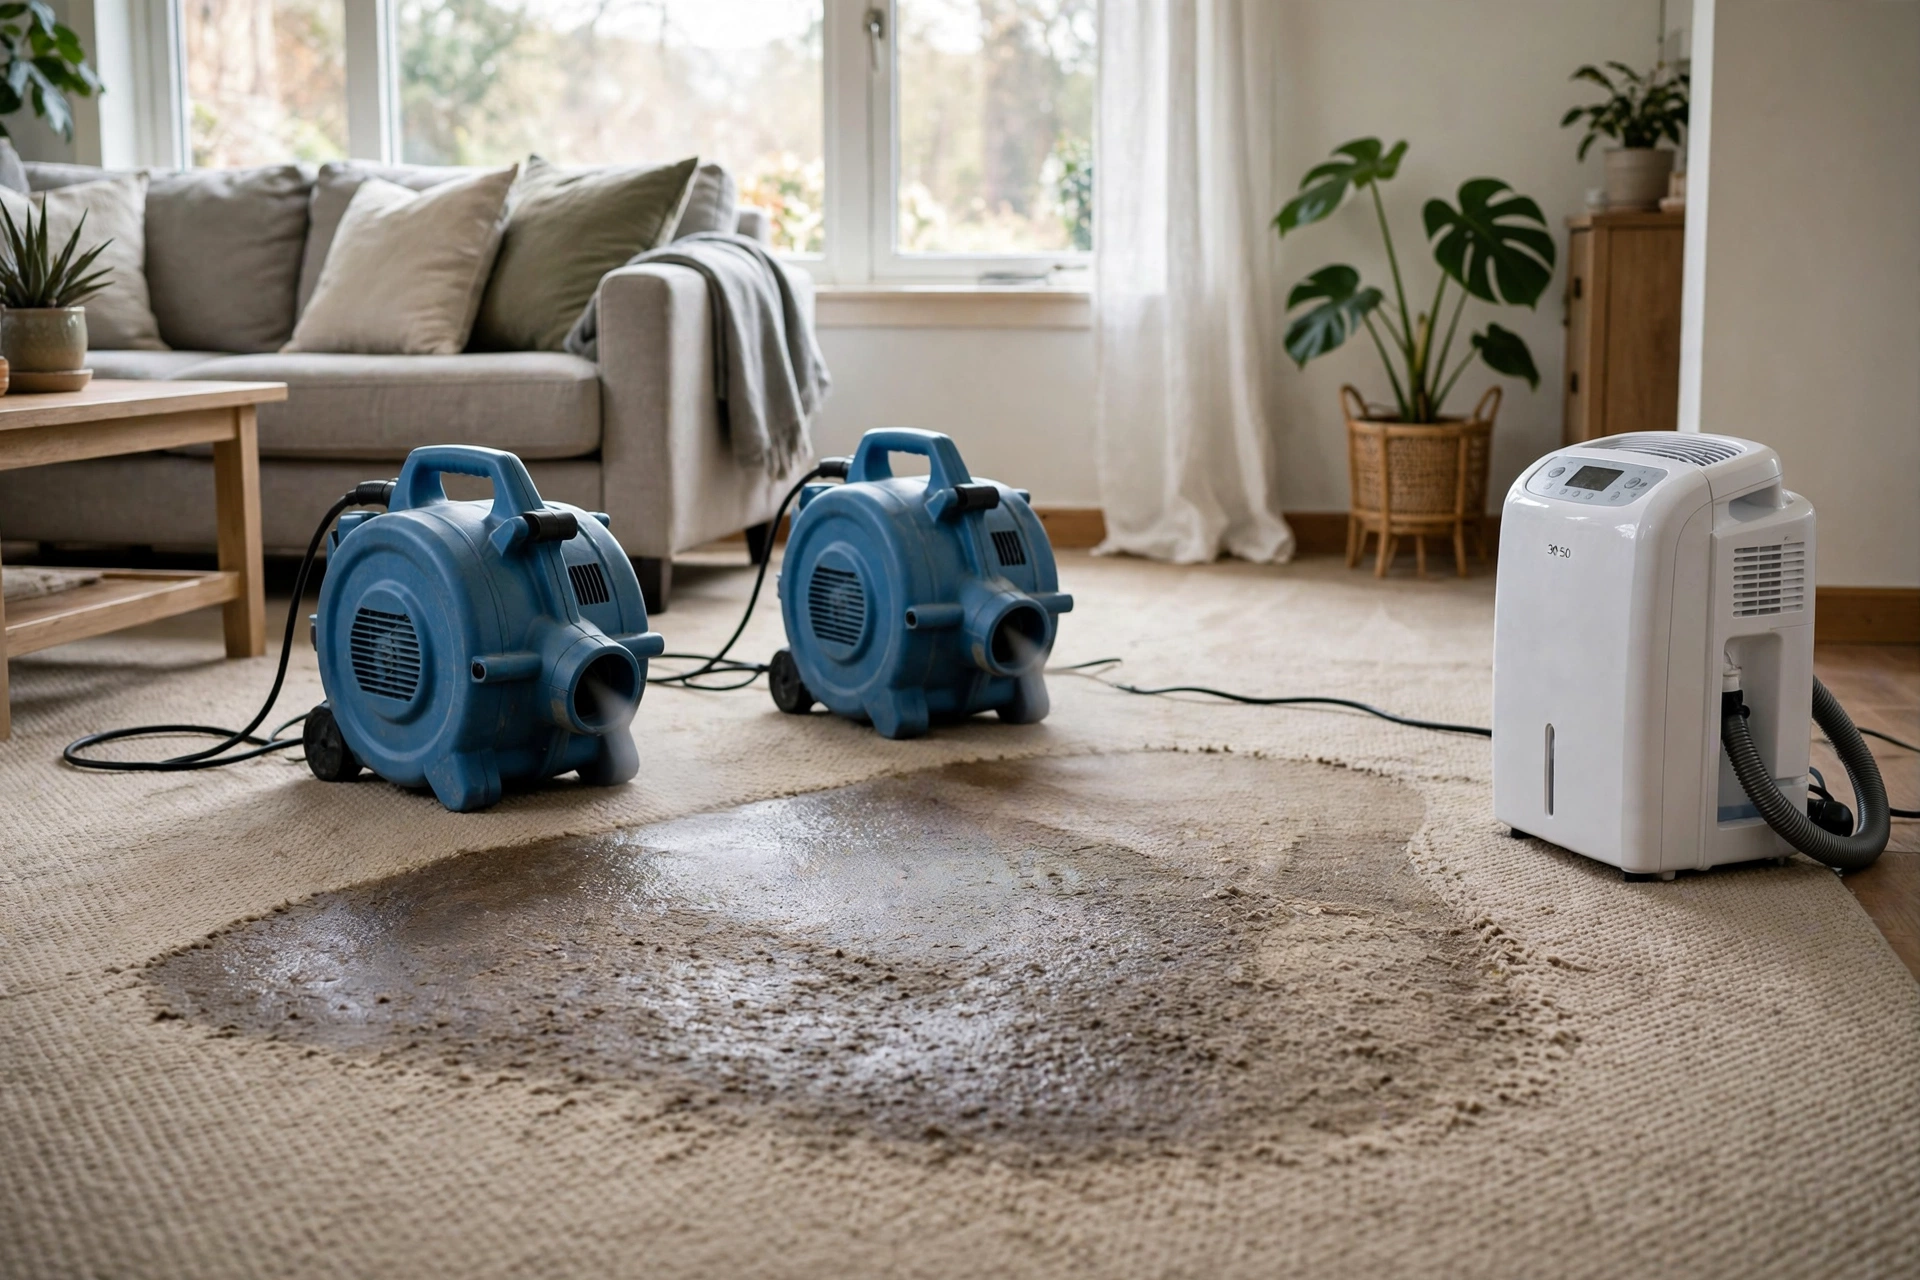
Once you have decided your wet carpet is worth saving, the clock starts. The difference between a carpet that dries cleanly and one that gets ripped out anyway usually comes down to the first 48 hours and using the right equipment the right way.
Drying carpet is not complicated, but it is specific: pointing a single box fan at a wet room for a week is not a drying plan. Professionals follow a sequence: extract, expose, move air, dehumidify, and verify with a meter. With rented equipment, you can follow the same sequence and get professional-grade results on a clean-water leak.
This guide covers each step in order: how to size a dehumidifier, where to place fans, and how to know when the job is done. If you have not made the save-or-replace decision, read our guide on whether wet carpet can be saved after flooding first; this process assumes clean water and a fast start.
Safety first: electricity and contamination
If water reached electrical outlets, power strips, or appliance cords, turn off the breaker for the affected area before stepping in. Never run electrical equipment while standing in standing water.
Confirm the water is clean: this process is only for supply-line, rain, or appliance water. If there is any chance of sewage, dishwasher discharge, or outdoor floodwater, stop and treat it as a removal job, not a drying job. Wear waterproof boots, gloves, and a dust mask during extraction regardless; even clean water picks up contaminants from carpet and subfloor.
Check the walls too. Water wicks up into drywall fast, and baseboards hide moisture that feeds mold behind the wall. Look for the signs of water damage in walls around the wet area: drying the carpet while ignoring wet drywall leaves half the problem in place.
Step 1: Extract as much water as possible
Extraction is the highest-leverage step in the process. A wet vacuum or extractor removes in an hour what evaporation takes days to accomplish, and every gallon extracted is a gallon your fans and dehumidifier do not have to evaporate.
Work in slow, overlapping passes with a wet/dry vacuum, emptying it often. Press down firmly or walk on the vacuum head to squeeze water from the pad through the carpet, making multiple passes in different directions until you pull up very little water. For a large area, renting a professional extractor for about $30 to $50 per day is money well spent: rental units extract far more aggressively than consumer wet vacuums.
Do not skip this step thinking fans will handle it. Air movement evaporates surface moisture but does almost nothing for water pooled in the pad; extraction is what reaches the pad.
Step 2: Pull the carpet back and deal with the pad
Most DIY guides skip this step, which is why many DIY drying jobs fail. Carpet pad holds far more water than carpet and dries far slower, so a carpet that feels dry on top can hide a saturated pad underneath, growing mold where you cannot see it.
Pull the carpet back from the tack strips around the wet area: grip a corner with pliers, pull it off the tack strip, and fold it back. Remove the wet pad underneath and discard it. Standard rebond pad costs $0.50 to $1.50 per square foot to replace, and drying it in place is a losing bet.
With the pad out, you can dry the carpet backing and subfloor directly, which is dramatically faster than drying through the carpet.
Step 3: Set up air movers correctly
Air movers, the snail-shaped fans restorers use, push dry air across wet surfaces to carry moisture away. A box fan helps, but purpose-built air movers move far more air at floor level where it matters. Rentals typically run $20 to $30 per day per unit.
Placement matters more than quantity. Position air movers so airflow skims across the wet surface at a low angle, not straight down, angling them to create a vortex pattern around the room with each unit feeding the next. With the carpet pulled back, direct airflow under it to hit both the carpet backing and the exposed subfloor, with air entering from the driest part of the room.
Plan on one air mover per 150 to 200 square feet, plus one aimed at any wet wall base, and run them continuously. Turning fans off at night lets humidity rebound and gives mold the stable conditions it prefers.
Step 4: Size and run the dehumidifier properly
Fans move moisture off surfaces and into the air; the dehumidifier pulls it out of the air so the fans keep working. Without dehumidification, you are just circulating increasingly humid air and drying stalls.
Use a unit rated for at least 50 pints per day for a single room, or 70 pints for a large open area. Small 20-pint units sold for closets are undersized for active water damage. Place the dehumidifier centrally with its intake facing the wettest zone, keep doors and windows closed, and empty the reservoir often or rig a drain hose for uninterrupted running.
The EPA’s indoor air quality guidance recommends 30 to 50 percent indoor humidity, and during active drying you should see the room’s humidity dropping steadily into that range. If it stays stuck above 60 percent after a day, you need more capacity or there is still a water source feeding the problem.
Step 5: Verify dryness with a meter, not your hand
The most common drying mistake is stopping too early because the carpet feels dry. Touch is unreliable: fibers feel dry long before the backing, subfloor, and wall bases reach safe moisture levels.
A pin-type moisture meter costs $25 to $40 and removes all guesswork. Take readings in the carpet backing, the exposed subfloor, and the bottom of nearby drywall, comparing them against a known-dry area of the same materials. Everything should read at or near the dry baseline before you declare the job done. Pros also use the meter to map how far moisture spread, often a foot or two beyond the visibly wet area.
Expect 3 to 5 days of active drying for a typical room with proper equipment; concrete subfloors dry slower than wood. If readings are not dropping day over day, something is wrong: undersized equipment, a still-active water source, or moisture trapped where air is not reaching.
Mistakes that ruin an otherwise good drying job
- Leaving the pad in place. This is the number one cause of mold under “successfully dried” carpet.
- Running fans without a dehumidifier in a closed, humid space, which just redistributes moisture.
- Opening windows on a humid day, which feeds outdoor moisture into the drying space.
- Turning equipment off at night to save electricity, letting humidity rebound for eight hours.
- Reinstalling the carpet before the subfloor meters dry, trapping residual moisture underneath.
- Forgetting the walls. Pull baseboards in the wet area and check the drywall behind them.
The EPA advises that porous materials be dried within 24 to 48 hours to prevent mold growth, which means extraction and equipment setup are day-one tasks, not weekend projects, according to its guide on mold, moisture, and your home.
Frequently Asked Questions
How long does it take to dry wet carpet completely?
With proper extraction, the pad removed, and fans plus a dehumidifier, a typical room takes 3 to 5 days to reach verified dry readings. Without removing the pad, drying can take a week or more, and the pad may never fully dry in humid conditions. Always verify with a moisture meter, not by touch.
Can I dry carpet with just fans and no dehumidifier?
In dry climates, aggressive fan use alone can sometimes work for small areas. In most cases, though, a dehumidifier dramatically speeds drying and is the difference between finishing in days and risking mold. For anything larger than a small spill zone, use both.
Should I lift the carpet or can I dry it in place?
Lift it. Pulling the carpet back lets you remove the wet pad, dry the subfloor directly, and get airflow to the backing. Drying in place leaves the pad saturated under a carpet that feels dry on top: the classic setup for hidden mold.
What humidity level should I target while drying?
Bring the room’s relative humidity into the 30 to 50 percent range and hold it there until meter readings stabilize at dry baselines. If humidity will not drop below 60 percent, add capacity or look for an ongoing water source.
When should I call a professional instead of DIY drying?
Call a pro for large areas (multiple rooms), possibly contaminated water, moisture wicked significantly up walls, or meter readings not dropping after a couple of days of DIY effort. For any active leak you cannot stop, call promptly; our first-hour checklist covers emergency shutoff steps.
Can hardwood floors be dried the same way as carpet?
The principles overlap, but wood needs a gentler approach: aggressive heat and airflow can cause cupping and cracking. If the leak reached hardwood too, see our guide on hardwood floor water damage for wood-specific drying and repair options.
The bottom line
Drying wet carpet is a sequence, not a single action: extract aggressively, pull the carpet back, remove the pad, move air across every wet surface, dehumidify continuously, and verify with a meter. Skip the pad removal or verification and you are gambling against mold.
Done right, DIY drying handles most clean-water leaks in a single room for the cost of a few days of equipment rental. Done halfway, it produces a carpet that looks fine until musty odor shows up a month later. Follow the full sequence and you will know, not guess, that the job is done.