

The worst leaks are the ones you cannot see. A pinhole in a copper pipe or a loose shower valve can drip inside a wall cavity for months, feeding mold on the back of drywall and rotting the sill plate while the room looks perfectly fine. By the time a stain shows up, the damage is often much bigger than the spot on the paint suggests.
Finding a hidden leak is detective work, and you can do most of it yourself before spending a dollar. The process runs from free observations anyone can make, to no-tool tests like the water meter check, to inexpensive gadgets, to opening the wall with confidence once you have narrowed the search.
This guide walks through each stage: the signs that give hidden leaks away, simple tests that confirm one is active, tools that pinpoint the spot, how to open drywall safely, and when to hand the job to a leak detection professional. If you already see visible damage, our guide to water damage signs in walls will help you read what the wall is telling you.
Signs a hidden leak is happening behind your walls
Hidden leaks rarely stay completely hidden; they leave a trail. The trick is recognizing the early clues instead of explaining them away.
- Stains that grow or change color. Yellowish-brown rings that expand after rain or spread over weeks point to active water movement behind the surface.
- A musty smell with no visible source. Persistent earthiness in one room, especially near bathrooms, usually means wet material is hidden behind drywall.
- Peeling, bubbling, or flaking paint. Paint loses adhesion when moisture pushes through from behind, especially near bathrooms or under windows.
- Warped or soft drywall. Press gently on suspect areas; drywall that flexes or feels spongy is wet from behind.
- Warped baseboards or buckling flooring. Water wicks down and spreads along the bottom plate, swelling trim far from the actual leak.
- A water bill that jumps with no change in use. A sudden unexplained increase often traces to a supply-side leak you cannot see.
- The sound of running water when nothing is on. A faint hiss or trickle with all fixtures off is a strong indicator.
The water meter test: confirm a leak with zero tools
Before you touch a wall, confirm there actually is an active supply-side leak. Turn off everything that uses water: faucets, toilets (do not flush), dishwasher, washing machine, irrigation, and ice makers. Read your water meter and write down the exact reading. Wait at least two hours without using any water, ideally overnight, and read it again. If the number moved, water is escaping somewhere in your pressurized lines.
Many meters have a small leak-indicator triangle that spins with even tiny flow; if it moves with everything off, you have confirmation. This test only catches leaks in pressurized supply lines, not drain leaks or roof intrusions, but supply leaks cause the most hidden damage. For a common sneaky source, check our guide to under-sink leaks, where slow drips hide inside cabinets for months.
More no-tool checks that narrow the search
Once the meter test confirms a leak, shrink the suspect area. Listen at night when the house is quiet, pressing your ear against walls behind showers and tubs, under bathrooms, around the water heater, and behind the kitchen. Even a faint hiss tells you which wall to investigate first.
Run the food coloring toilet test. Squeeze several drops of food coloring into the toilet tank, wait 20 minutes without flushing, and look in the bowl. Color in the bowl means the flapper is leaking, which can send a steady trickle into the floor below and mimic a pipe leak.
Check the water heater and its drain pan, washing machine supply hoses, and refrigerator ice-maker line. These sit in corners and closets where leaks go unnoticed. Feel along supply lines for dampness and look for corrosion or green crust on copper fittings.
Tools that pinpoint the leak before you cut drywall
A pin-type moisture meter is the single most useful gadget, typically $25 to $40. Press the pins lightly into drywall across a grid pattern and watch the readings climb as you approach the wettest point; pros map moisture this way to find the center of the damage zone. Our guide to moisture meters for water damage covers how to read them accurately.
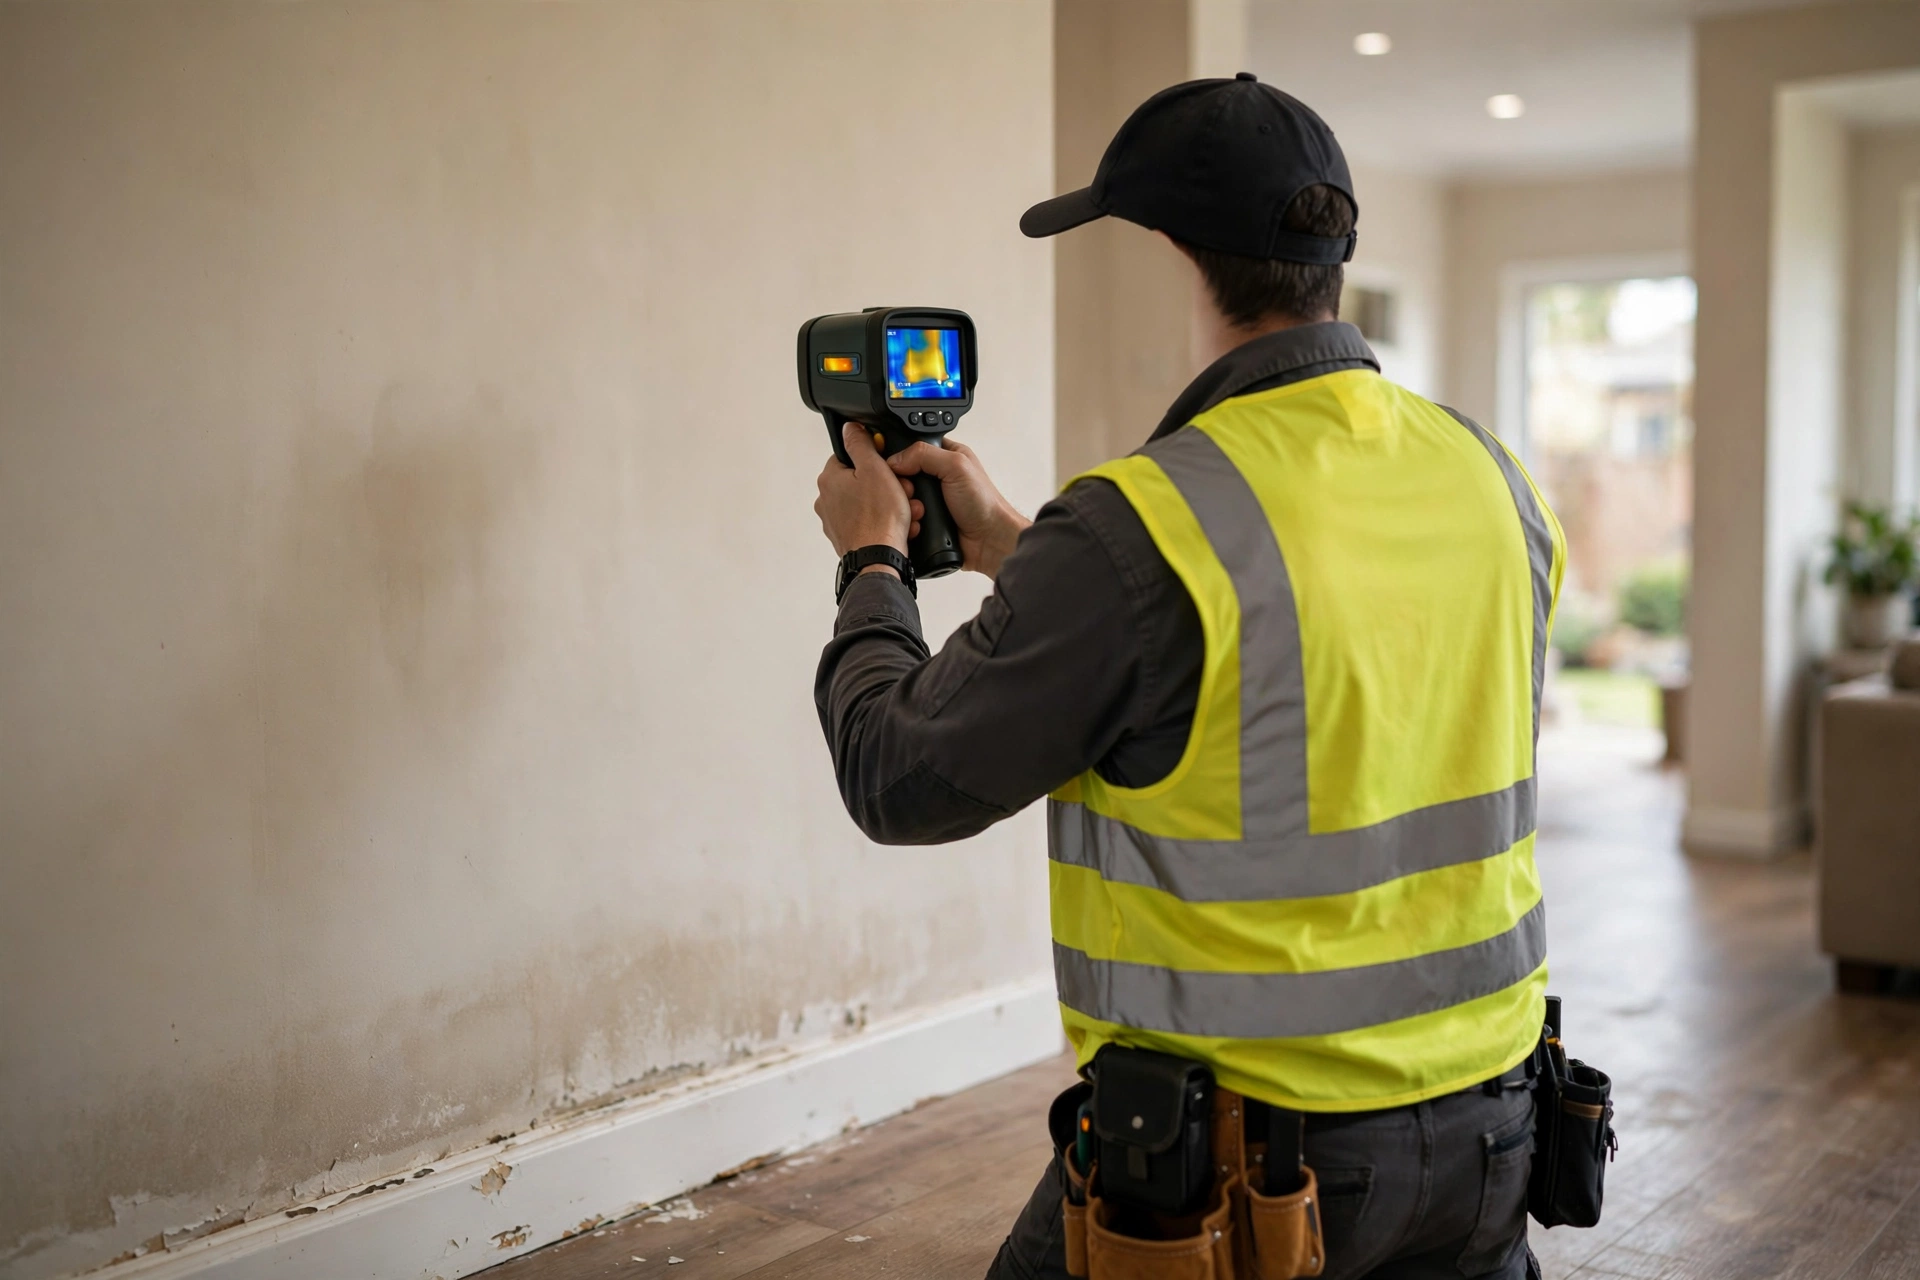
A thermal imaging camera, even a phone attachment in the $200 to $300 range, shows cold wet spots inside walls as darker areas against warmer dry material. It works best with a temperature difference between the leak water and the wall, so early morning readings in an air-conditioned house give the clearest picture. Thermal finds the general zone; the moisture meter confirms it.
For stubborn cases, acoustic listening devices and endoscope cameras that slip through a small drilled hole let you see or hear inside the cavity without opening a large section. These are the tools professional leak detectors bring, which is why a pro can often find in an hour what takes a homeowner a weekend.
Opening a wall safely once you have a suspect area
First, shut off water to the suspect area or the whole house, and turn off the breaker for outlets in that wall section. Electrical wires often run through the same studs as plumbing, and wet wires are dangerous.
Cut a small inspection opening first, about 6 inches square, centered on the wettest reading. Score the drywall with a utility knife rather than a saw to control depth; you want to cut paper and gypsum, not a pipe. Keep the cut piece intact so you can patch it later if the leak is elsewhere.
Look before you touch: check for mold on the back of the drywall, standing water in the cavity, and the condition of insulation. If you see heavy growth over a large area, stop and seal the opening with plastic and tape until you have a mold plan; disturbing large colonies without containment spreads spores through the house. Wet insulation should be removed and replaced, since it rarely dries properly in place.
When to call a leak detection professional
Call a leak detection pro, typically $150 to $400 for a residential visit, when the meter test confirms a leak but you cannot locate it after a reasonable search, when the suspect area is under a slab or behind tile you cannot easily open, or when signs point to different areas.
Pros carry acoustic sensors, thermal cameras, tracer gas equipment, and pressure testing rigs that isolate which line is leaking before anyone cuts anything. For leaks under concrete slabs, specialized detection is essentially required; our guide to slab leak damage explains why under-slab leaks are a different animal. The detection fee is small compared to opening the wrong wall or letting a leak run another month.
Stopping the water comes first; drying and repair come second. Once the leak is stopped, the EPA’s indoor air quality guidance on holding indoor humidity at 30 to 50 percent is a good benchmark for the drying phase, and IICRC-certified restoration firms follow industry standards for that work.
Frequently Asked Questions
How do I know if a wall leak is active or old damage?
Active leaks show moisture meter readings well above the dry baseline, and stains that darken or grow after rain or water use. Old, dried damage reads at baseline and the stain stays stable over weeks. When in doubt, monitor for a week: an active leak will not stay the same.
Can a plumber find a hidden leak, or do I need a specialist?
Many plumbers do basic leak locating, but dedicated leak detection companies have specialized acoustic and thermal equipment and find hidden leaks faster with less demolition. For a confirmed leak with an unknown location, a detection specialist usually saves money overall.
How much does professional leak detection cost?
Residential leak detection typically runs $150 to $400 depending on home size and equipment needed. Under-slab detection with acoustic or tracer gas equipment can run $300 to $600, still far less than opening multiple walls on guesses.
Will my water meter show a slow drain leak?
No. The meter only registers flow through pressurized supply lines. Drain leaks, roof leaks, and groundwater intrusion will not move the meter. If the meter test is clean but signs persist, suspect drains, the roof, or exterior water instead.
Is it safe to leave a small hidden leak for a few weeks?
Not really. Even a slow drip keeps materials wet enough for mold, which can start growing within 24 to 48 hours of wetting. A pinhole leak dripping for a month can saturate an entire wall cavity. The water cannot wait, even if the cosmetic repair can.
Can thermal cameras see through walls to find leaks?
They do not see through walls; they detect surface temperature differences caused by wet material inside. Wet drywall is cooler than dry drywall, so leaks show as cool spots. They are excellent for narrowing the search but should be confirmed with a moisture meter before cutting.
What to do next
Run the water meter test tonight: two hours of no water use, and you will know whether a supply leak is active. If the meter moves, work through the no-tool checks, then confirm with a moisture meter before cutting anything. Document everything with photos and dates, which helps with contractor quotes and any insurance claim.
If the meter test is clean but the signs point downward, the leak may be under the slab, which needs a different detection approach. And if you find damage behind the wall, our guide to water damage signs in walls will help you judge what needs cutting out versus what can dry in place.