

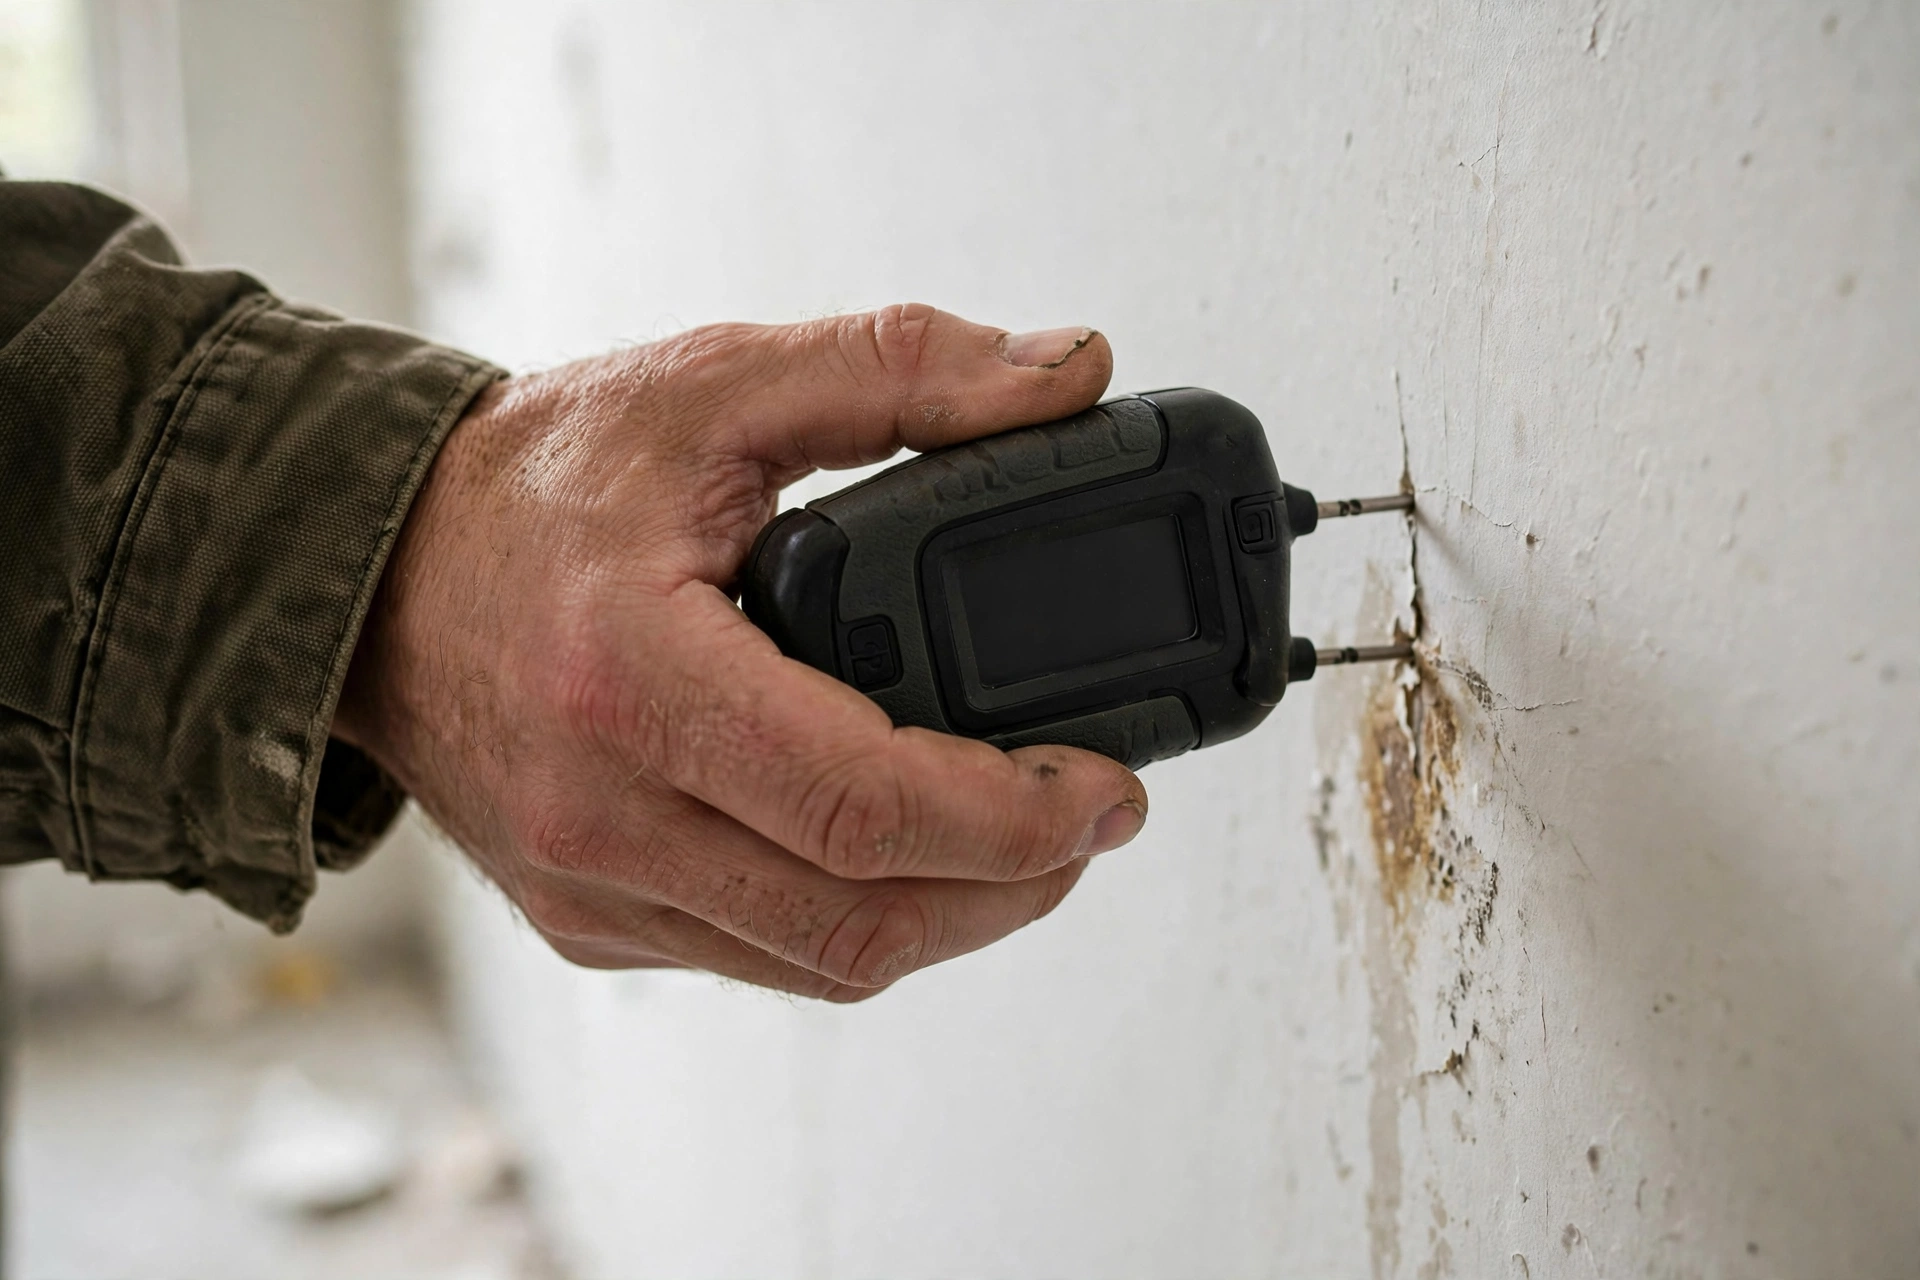
Drywall that feels dry is not necessarily dry. After a leak, the surface of a wall can feel normal while the inside of the drywall and the wood framing behind it still hold enough moisture to grow mold. Professionals do not guess about this. They measure.
A moisture meter for water damage turns “it feels dry” into a number you can act on. Pros use it twice: first to map how far moisture spread beyond the visible damage, then to confirm every material is back to a safe reading before rebuilding. Homeowners can do the same with an inexpensive meter.
This guide covers the two meter types, how to take readings that actually mean something, how professionals use those readings to find the true footprint of a leak, and the reading levels that say a job is bigger than DIY drying.
Why touch and sight are not enough
Your hand is a poor moisture instrument. Skin temperature and room humidity change what “dry” feels like, and your hand only tests the surface. Water wicks into drywall, baseboards, and sill plates from the inside out, so paint can look fine while the gypsum behind it is damp and softening.
Pros have learned this the expensive way. The most common callback in the restoration business is mold growing behind a wall that was declared dry too early. A wall that was never opened up and never metered was never really verified. That is why the signs of water damage in walls sometimes show up weeks after a leak: visible symptoms lag behind hidden moisture.
A meter removes the guesswork. You get a numeric reading you can compare against a dry baseline and track over days. If the number is dropping toward normal, drying is working. If it is not moving, something is wrong, and you find out now rather than after the mold smell starts.
Pin meters vs pinless meters: how each one works
There are two fundamentally different designs, and they answer different questions. Most pros carry both, but as a homeowner you can get real value from either one if you understand its strengths.
Pin-type meters
A pin meter has two small metal pins that you push into the material. It measures electrical resistance between the pins: dry wood conducts almost no current, while wet wood conducts measurably more. The display reads out as a percentage of wood moisture content.
Pin meters are precise and cheap, typically $25 to $50 for a decent DIY model. Their drawback is right in the name: they leave two tiny holes. On painted drywall those are barely noticeable, but on finished wood or trim they matter. The reading also depends on depth: you are measuring exactly where the pins reach. Pro models accept hammer probes for testing deeper into studs and subfloors.
Pinless meters
A pinless meter has a flat sensing pad that you hold against the surface. It emits a low-frequency electromagnetic signal and reads how the material disturbs it, reporting a relative moisture value rather than a true percentage. Nothing punctures the surface, so you can scan dozens of spots quickly: across a whole wall, around window frames, along baseboards.
The trade-off is that pinless readings are relative, not absolute, and they average moisture over a scanning depth of about half an inch to an inch. Metal behind the surface, dense knots, or thick paint layers can skew readings. For a homeowner doing one-time leak follow-up, a pinless meter around $40 to $80 is often the most practical choice.
What the readings actually mean
Numbers only help if you know what is normal. Moisture readings are not pass or fail on a universal scale; they are meaningful relative to the dry baseline of the same material in the same house.
The method pros use is simple: before testing the damaged area, test an equivalent area you know is dry, like the same type of drywall on an interior wall in another room. Write down that number. That is your dry standard. The EPA’s guide to mold and moisture in the home stresses that drying is complete only when materials return to their normal moisture level, and the dry standard is how you define normal.
As a rough frame of reference for pin meters on wood: under about 12 to 15 percent is generally dry, 15 to 20 percent is elevated, and above 20 percent is wet and at risk for mold. Drywall follows its own scale on most meters, and pinless models often use simple color zones. Whatever the scale, compare against your dry standard and watch the trend across days of drying.
How pros map moisture and confirm dryness
Finding the leak is only the start. Water travels: it wicks up drywall, runs along the top of baseboards, soaks into sill plates, and migrates under flooring. The visible stain is almost never the full footprint. Pros use the meter to draw the real boundary.
The technique is straightforward and you can copy it. Start in the center of the wet area and work outward in a grid, taking readings every foot or so and marking the readings on the wall with painter’s tape. Where the numbers return to your dry baseline, you have found the edge of the affected area. Expect the true moisture boundary to extend a foot or two beyond the visible stain, sometimes more behind baseboards.
Then comes confirmation. Restoration crews do not pull their drying equipment based on time; they pull it based on numbers. The standard from IICRC restoration practice is that drying is done when affected materials have returned to the dry standard established for that structure. In practice this means meter readings in walls, floors, and baseboards match your dry baseline for a day or two in a row. If you are drying out a flooded basement, expect concrete and framing to take several days of steady readings before they qualify as dry.
Mapping also keeps repair bills honest: knowing exactly which section of wall is wet means opening only that section. If repairs are needed, our guide on how to fix water damaged walls assumes you have already found the full extent.
Choosing a meter for homeowner use
You do not need the $300 to $500 pro unit. For occasional homeowner use, a $25 to $50 pin meter from a reputable brand handles the important job: comparing wet areas to dry baselines. Look for one with a backlit display and a replaceable pin cap.
If you would rather not poke holes, a pinless meter in the $40 to $80 range scans faster and covers more area. Buy a dedicated moisture meter, not a multi-tool gadget with moisture as an afterthought, and skip the ultra-cheap novelty meters, which tend to read everything as either bone dry or soaking.
When readings mean calling a pro
A meter does not fix anything; it tells you whether your fixes are working. Certain readings are the meter’s way of telling you to pick up the phone.
- Readings that keep climbing even though the leak is fixed, which suggests water is still entering from somewhere you have not found. See our guide on how to find a hidden water leak before the problem spreads.
- Wood moisture content stuck above 20 percent after several days of active drying with fans and a dehumidifier.
- A moisture boundary that keeps expanding across walls or floors instead of shrinking.
- Elevated readings in walls on multiple floors or far from any known leak, which can point to plumbing inside walls or a roof issue feeding moisture down.
Materials that stay damp for more than 24 to 48 hours are at risk for mold growth, so a meter that shows moisture not dropping is a signal to act now rather than wait, according to the EPA’s mold and moisture guidance.
Frequently Asked Questions
How accurate are cheap DIY moisture meters?
Accurate enough for their real job. A $30 pin meter will not match a pro unit’s calibration, but it reliably shows differences between wet and dry areas and tracks whether readings are falling.
Should I buy a pin or pinless meter as a homeowner?
For most homeowners, a pin meter gives more trustworthy readings for the money, measuring true moisture content at the pin depth for less than a decent pinless unit. Choose pinless if you want to scan large areas quickly without marking up surfaces, but confirm suspicious readings with a pin meter when you can.
Can a moisture meter find a leak I cannot see?
It can find moisture you cannot see, which usually leads you to the leak. Scan suspect walls, ceilings below bathrooms, and baseboards near plumbing: a trail of elevated readings points toward the source.
How long should I wait before meter readings confirm something is dry?
With active drying, most residential materials show meaningful drops within a few days. Pros confirm dryness with readings at the dry baseline over consecutive days, not from a single check. If readings have not moved after 3 to 5 days of good airflow and dehumidification, look for a still-active water source.
Do moisture meters work on concrete?
They work with caveats. Pin meters can test concrete with special probes, but pinless meters are more practical for scanning slabs, giving relative readings that compare wet and dry zones. Concrete dries slowly, so expect longer timelines than with wood or drywall.
The bottom line
A moisture meter for water damage does two jobs: it maps the true extent of moisture beyond the visible stain, and it confirms when materials are actually back to dry. Buy an inexpensive pin meter, establish a dry baseline in an unaffected area of the same material, and let the numbers guide your drying instead of your fingertips.
If readings drop to baseline and stay there, you can rebuild with confidence. If they climb, stall, or keep spreading, the problem is bigger than it looks. At that point, knowing exactly where the moisture is makes you a better customer for the pro you call, and a good first reference is our walkthrough on how to find a hidden water leak before it finds your drywall.