

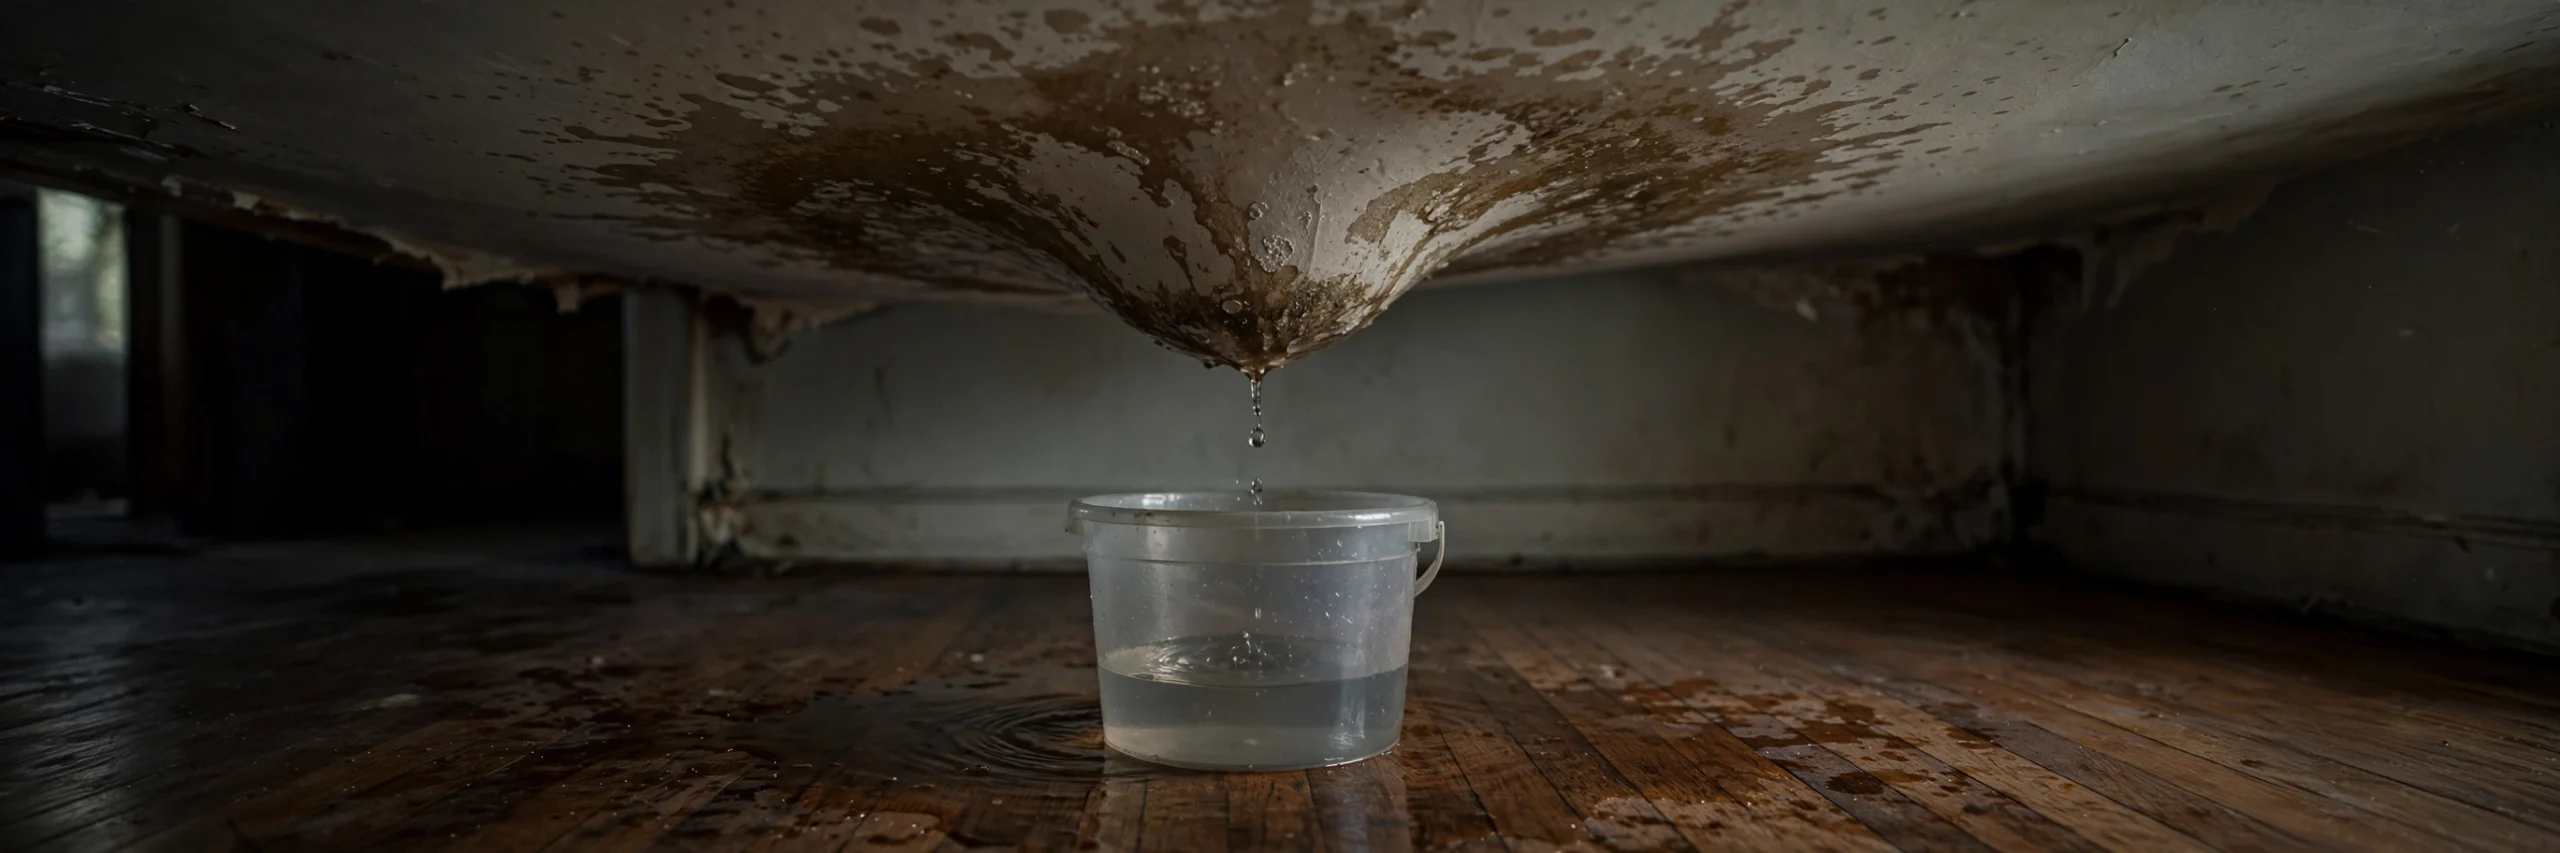
It usually starts with a drip, or a spreading yellow-brown stain directly below the upstairs bathroom. By the time you notice ceiling water damage from an upstairs leak, water has already traveled through the floor assembly, soaked the insulation, and pooled on top of your drywall. The question is not just how to fix the ceiling. It is whether the ceiling can be saved at all.
This guide helps you assess the damage like a pro: find the leak source, judge whether the drywall is repairable or done for, and handle the repair in the right order. If this just happened, start with our first-hour water damage checklist to stabilize things, then come back here for the ceiling-specific decisions.
First: stop the water
Nothing else matters until the leak stops. Shut off the fixture’s supply valves first (under the sink, behind the toilet, at the washing machine). If you cannot find a local valve or the leak is in a wall, shut off the main water valve to the house. Then relieve any trapped water: if the ceiling is bulging, place a bucket underneath and poke a small hole at the lowest point of the bulge with a screwdriver. It feels wrong to poke a hole in your ceiling, but a controlled drain beats a sudden collapse.
Turn off power to any light fixtures or ceiling fans in the affected area at the breaker. Water and electricity share the ceiling cavity, and you do not want to discover that the exciting way.
Find the leak source upstairs
Most upstairs leaks come from a short list of suspects. Work through them in order:
- Toilet: failed wax ring or loose supply line. Look for water around the base.
- Shower or tub: failed caulk, cracked grout, or a leaking drain gasket. Test by running the shower and watching below.
- Sink: loose P-trap or supply connections inside the vanity.
- Washing machine: burst or weeping supply hoses, or a backed-up drain.
- Supply lines in the wall or floor: pinhole leaks that only show when the line is pressurized.
If the stain sits below a bathroom, the odds favor plumbing over roofing. Roof leaks usually show near exterior walls or after rain; plumbing leaks show up whenever the fixture runs. Our guide to signs of water damage in walls helps you read the subtler clues when the source is not obvious.
Repair or replace? How to judge the drywall
This is the core decision. Press the damaged area firmly with your thumb and use this test:
- Repair (seal and paint): the drywall is firm and flat, only the surface is stained, and the area dried within a day. Our water-stained ceiling repair guide covers this exact job.
- Patch (cut and replace a section): the stain is large but the surrounding drywall is solid, or a small area is soft. Cut back to solid material, at least 6 inches past the damage.
- Replace (full panel or section): the drywall sags, crumbles, or the paper facing delaminates. Soft drywall never regains its strength, and paint over it is money wasted.
Check the cavity too. Pull back insulation in the affected bay and look for mold, soaked framing, or standing water on top of the ceiling drywall. Insulation that got wet usually needs replacement, since it compresses and loses R-value. If you find mold in the cavity, treat it as a remediation job, not a paint job.
Getting the diagnosis right with meters and thermal imaging
Guessing at moisture is how ceilings get repaired twice. A pin-type moisture meter ($30 to $60 at any hardware store) tells you exactly which drywall is wet and which is dry, which keeps your demolition surgical instead of exploratory. Take readings across the stain and several feet beyond it in every direction. The boundary where readings drop to normal is your cut line.
For trickier cases, a thermal imaging camera shows temperature differences that reveal hidden wet areas inside the cavity. Many restoration companies include a thermal scan in their inspection, and standalone scans cost $150 to $300. It is particularly useful when the visible stain is small but you suspect the water traveled along joists. Spending a little on diagnosis beats cutting open half the ceiling on a hunch.
The right repair order
Do the work in this sequence or you will redo steps:
- Fix the plumbing leak and verify it is actually fixed (run the fixture, check below).
- Open up and inspect the cavity. Remove wet insulation and any unsalvageable drywall.
- Dry everything to verified moisture levels. A moisture meter reading matching dry areas of the house is the target. The EPA’s moisture guidance explains why the 24 to 48 hour drying window matters so much.
- Treat any mold on framing with an appropriate antimicrobial, then HEPA-vacuum.
- Install new drywall, tape, mud, and match the texture.
- Prime with stain blocker, then paint. For a seamless look, paint the whole ceiling, not just the patch.
Skipping straight to step 6 is the most common homeowner mistake. It looks fixed for a month, then the stain bleeds through or the soft spot sags further.
What about the floor above?
People focus on the ceiling and forget the leak damaged the upstairs floor assembly too. Water spreads along joists and subfloor before it ever drips through. Check the upstairs flooring around the leak: warped boards, spongy spots, or musty smells mean the subfloor got wet. Tile floors often hide the worst damage because water travels under the tile through the thinset.
If the upstairs bathroom floor feels soft near the fixture, budget for subfloor work on top of the ceiling repair. It is better to open a small inspection area now than to discover rotted joists during a future remodel.
If you rent: whose repair is this?
Ceiling leaks in rentals create a second question alongside the repair: who pays. In most states, the landlord is responsible for maintaining plumbing and the building structure, which covers both the leak source and the ceiling repair. Your responsibility as a tenant is prompt written notice. Report the leak in writing (email or text counts) the moment you see it, because delays weaken any claim that the landlord was negligent.
Document everything yourself regardless of who pays: photos of the stain, the bulge, any dripping, and the plumber’s findings if you can get them. If the landlord drags their feet and your belongings are at risk, most tenant protection laws allow you to take reasonable steps to mitigate damage, but check your state’s specific rules before spending money you expect to recover. Renters insurance covers your belongings, not the building, so file a claim for damaged furniture or electronics separately.
Costs to expect
Typical ranges for an upstairs-leak ceiling job: plumbing repair $150 to $400, drywall patch and refinish $250 to $600, full panel replacement with texture match $400 to $900, plus mold treatment $200 to $600 if needed. Most total jobs land between $500 and $1,500 when caught reasonably early. Severe cases with subfloor damage run $2,000 to $4,000.
If standing water pooled significantly, you may also need emergency pump-out before repairs begin. Our water extraction cost guide prices that first step.
Preventing the next upstairs leak
Most of these leaks are preventable with boring maintenance. Replace rubber washing machine hoses with braided stainless steel lines every 5 years. Recaulk tubs and showers when the caulk pulls away. Check toilet bases for rocking, which breaks wax seals. Know where your fixture shutoff valves are before you need them in a panic.
Smart leak detectors have gotten cheap enough to be worth it: $30 to $60 per sensor, placed under sinks, behind toilets, and near the washing machine. The better ones shut off the water automatically or alert your phone. A single prevented leak pays for a whole house worth of sensors. And consider Ready.gov’s flood preparedness guidance alongside the EPA’s flooding resources if your area sees heavy storms that stress plumbing and drainage together.
Frequently Asked Questions
How do I know if my ceiling needs replacing after a leak?
Press it. Firm and flat means repairable with sealing and paint. Soft, sagging, crumbling, or delaminating means replacement. When in doubt, cut a small inspection hole and look at the cavity side of the drywall.
Can I just paint over a water stain from an upstairs leak?
Only after the leak is fixed, everything is fully dry, and the drywall is solid. Use a stain-blocking primer first. Painting over damp or soft drywall traps moisture and guarantees a callback.
How long does it take to fix?
A simple stain repair takes a day. A patch with texture matching takes 2 to 3 days including mud drying time. Full replacement with cavity drying takes 4 to 7 days.
Who do I call for a ceiling leak from upstairs?
A plumber for the leak source, then a drywall contractor or water damage restoration company for the ceiling. If there is significant water or mold, a restoration company handles the whole sequence. For electrical fixtures in the wet zone, add an electrician.
Will my ceiling collapse?
A severely saturated section can. Warning signs are pronounced sagging, dripping, and creaking. Keep people and furniture out from under it and get professional help quickly rather than testing its limits.
Bottom line
Stop the water, verify the leak is fixed, then judge the drywall with the thumb test: firm means repair, soft means replace. Work in the right order, check the floor above too, and do not let anyone talk you into paint as a structural solution. Handled properly, an upstairs leak is a one-week project, not a recurring nightmare.