

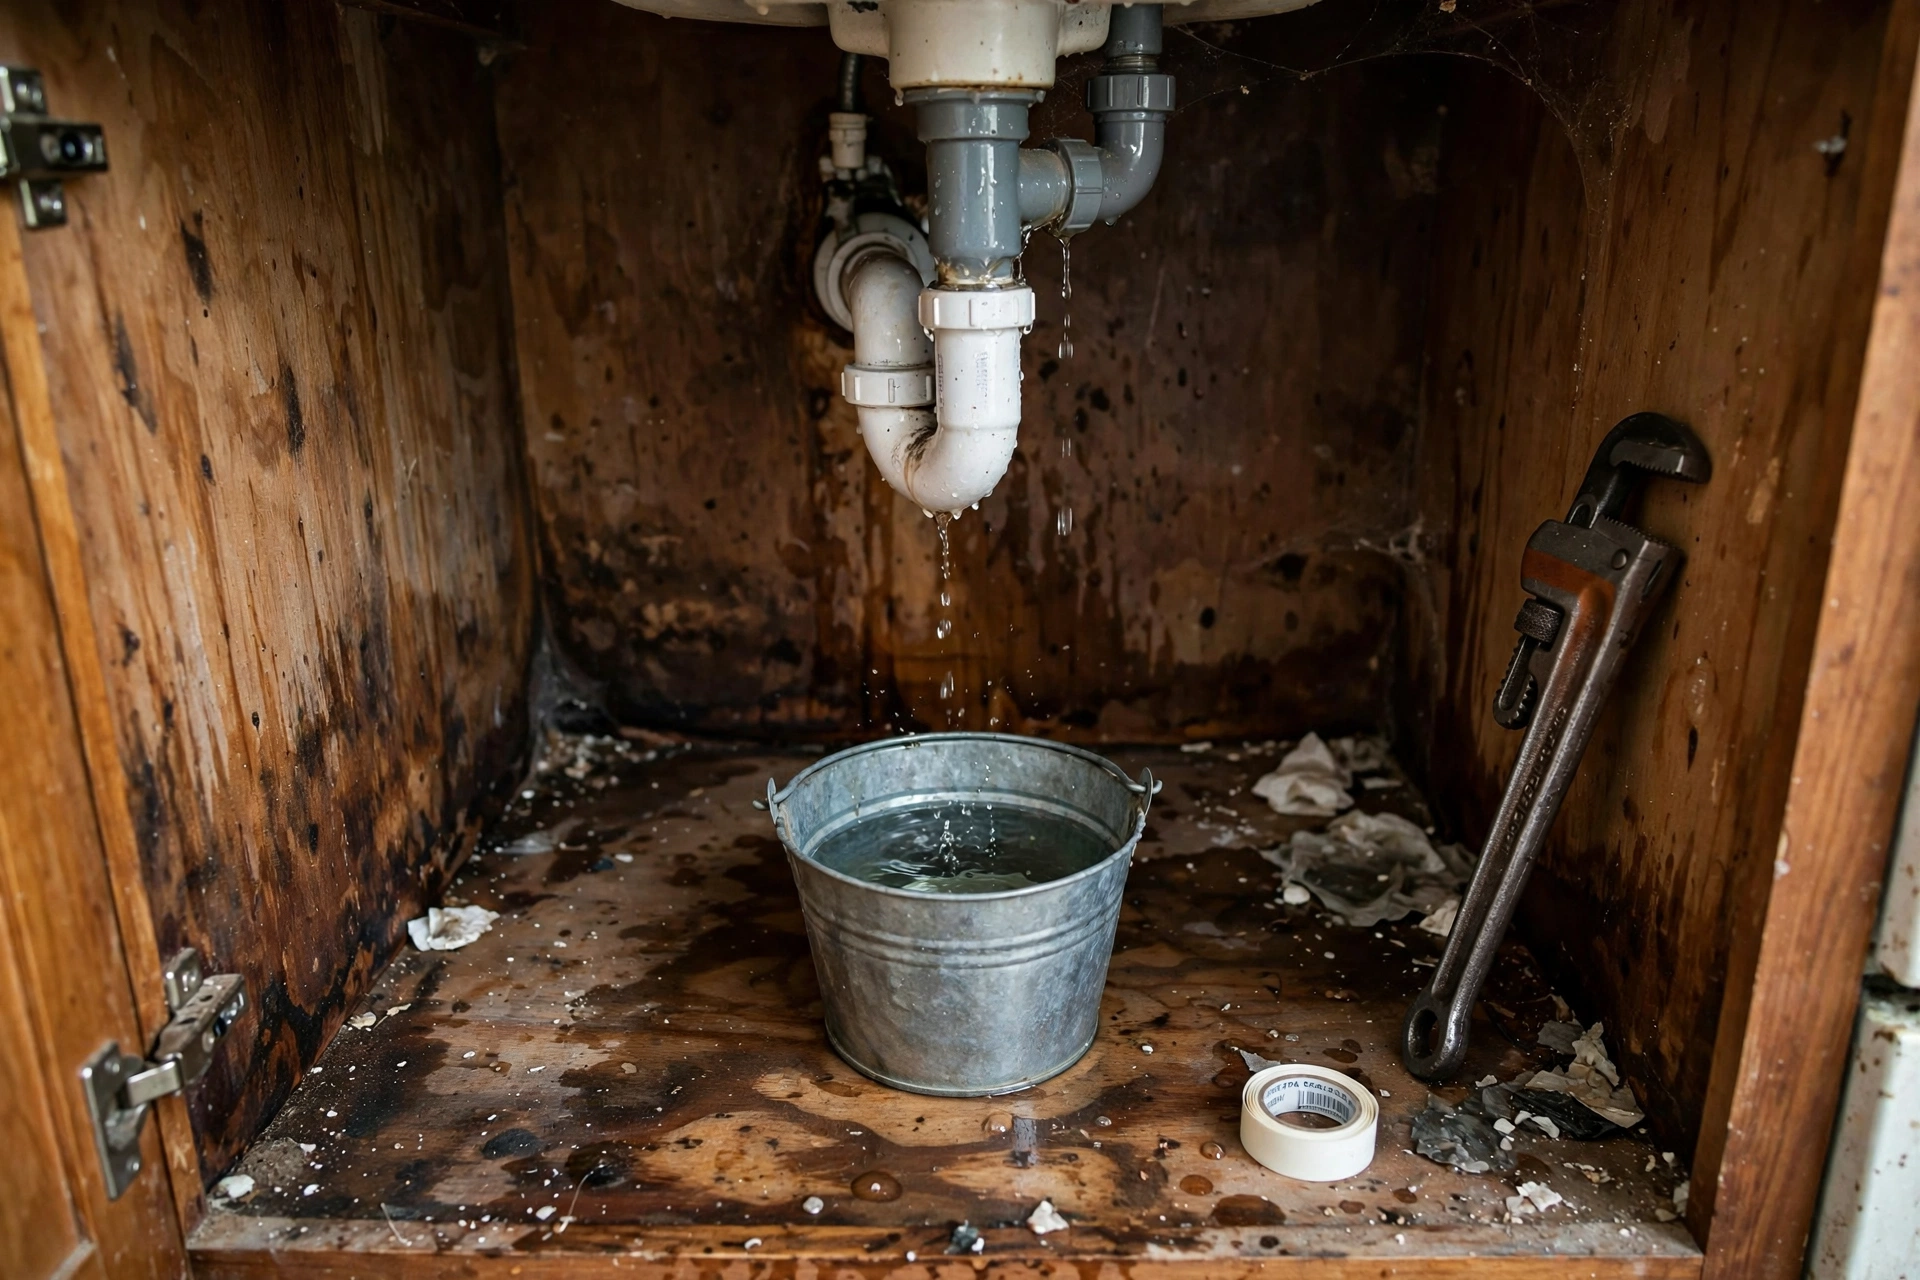
The cabinet under your sink is the last place you look and one of the most common places for hidden mold. A slow drip from a supply line or drain connection can run for months behind the cleaning supplies, soaking the particle-board cabinet floor and growing a mold colony you only discover when the smell reaches the kitchen.
Under sink leak mold is so common because the ingredients line up perfectly: regular moisture, darkness, poor airflow, and organic material in the cabinet wood and stored cardboard.
This guide covers the usual leak sources under sinks, why slow drips do more damage than dramatic bursts, a simple monthly inspection routine, which fixes are DIY and which need a plumber, and the insurance reality of slow leaks.
The four most common under-sink leak sources
Nearly every under-sink drip comes from one of these four places.
Supply line connections
The braided steel or plastic lines running from the shutoff valves to the faucet carry pressurized water, so even a loose connection drips constantly. Check where each line meets the valve and the faucet tailpiece. Corrosion, mineral crust, or a damp valve handle are the early warnings. If yours are original plastic lines in an older home, replacing them with braided stainless is a $10 to $20 preventive fix per line.
P-trap and drain connections
The curved P-trap and its slip-nut connections carry drain water only when the sink is used, so the drip is intermittent and easy to miss. Slip nuts loosen over time from vibration and temperature changes, and the washers inside them harden and crack with age. Hand-tightening the slip nuts, sometimes with a fresh washer costing under a dollar, fixes most P-trap drips.
Garbage disposal and dishwasher connections
The disposal’s mounting flange, its drain outlet, and the dishwasher drain hose connection are frequent drip points. If the cabinet is damp only after running the dishwasher, the dishwasher connection is your prime suspect rather than the sink plumbing itself. See our guide on appliance leak damage for the dishwasher side of these failures.
Drain tailpiece and sink strainer
The tailpiece connecting the sink basket to the trap, and the strainer seal where the basket meets the sink, leak only when water drains. Plumber’s putty under the strainer dries and cracks over years, and the leak shows as dampness on the cabinet floor directly under the sink basin. Resealing a strainer is beginner-level DIY: a tub of plumber’s putty costs a few dollars and the job takes about 30 minutes.
Why slow drips do more damage than bursts
A burst pipe gets noticed in minutes and fixed in hours. A slow drip gets noticed in months, if ever. That difference in detection time is why slow leaks cause a disproportionate share of household mold damage.
The cabinet floor absorbs the drip first. Most sink cabinets are particle board or MDF, which swells, crumbles, and loses all structural integrity when wet. Once the floor is saturated, moisture wicks into the cabinet walls, the back panel, and the wall behind the cabinet.
Then there is the mold timeline. Mold can begin growing on damp organic material within 24 to 48 hours, and a perpetually damp cabinet floor is ideal: constant moisture, no light, no airflow. Our guide on how fast mold grows explains why the first two days matter so much, and why a drip that has been running for weeks has almost certainly started something you cannot see from the cabinet door.
Your monthly under-sink inspection routine
This takes about three minutes per sink. Do it monthly, and do it in every bathroom too, not just the kitchen.
- Clear the cabinet and look: pull everything out and inspect the cabinet floor with a flashlight for staining, warping, and soft spots.
- Feel for dampness: run your hand along the cabinet floor, especially the back corners and around pipe penetrations. Touch the bottom of the P-trap and the supply line connections.
- Smell for mustiness: a closed cabinet concentrates odor. If it smells musty, something is damp even if you cannot see it yet.
- Run the water and watch: turn the faucet on full and watch every connection while it runs, then fill the basin and release it to test the drain side under load.
- Check the shutoff valves: turn each valve a quarter turn to confirm it still moves. A seized valve is useless in an emergency.
If you find active dripping, place a bucket or towel immediately and identify the source using the four categories above.
What hidden damage actually looks like
By the time an under-sink leak reveals itself, you are usually looking at more than a drip. Here is how to read the damage:
- Stained or swollen cabinet floor: light staining with a solid floor is cosmetic; swelling and softness mean the floor needs replacement.
- Soft, crumbling wood: poke suspect areas gently with a screwdriver. If it sinks in, the material is compromised and should be cut out.
- Musty odor that persists after drying: suggests mold in the cabinet walls, the back panel, or the wall cavity behind the cabinet.
- Staining on the ceiling below: water has traveled through the floor structure, which means the subfloor is involved.
- Visible mold on the back panel or walls: small surface patches can be cleaned following the EPA’s mold cleanup guidance, but mold covering a large area or inside the wall cavity is a remediation job.
If the moisture has reached beyond the cabinet into walls or the floor below, treat it as a hidden leak scenario and follow our walkthrough on how to find a hidden water leak before assuming the visible damp spot is the whole problem.
Simple fixes vs calling a plumber
Most under-sink drips are genuinely DIY-friendly, but some are not. The dividing line is whether the fix requires opening walls or working with pressurized connections you cannot isolate.
Comfortable DIY territory: hand-tightening slip nuts, replacing P-trap washers, resealing a sink strainer with plumber’s putty, replacing supply lines when the shutoff valves work, and reattaching a loose dishwasher drain hose. Parts typically cost under $20.
Call a plumber when: the shutoff valves are seized or leaking, the leak is in the wall stub-out or supply piping inside the wall, the garbage disposal itself is leaking from the housing rather than a connection, or the cabinet floor and wall behind it need to come out and you suspect mold in the wall cavity. A typical plumber visit for under-sink work runs $150 to $350, cheap compared to the cabinet and flooring damage a slow drip causes over a year.
The insurance angle on slow leaks
Here is the part that surprises most homeowners: standard policies usually cover sudden, accidental water damage, but they routinely deny damage from leaks that went on for weeks or months. Insurers classify long-running drips as gradual damage or maintenance neglect, and those words are exclusions in most policies.
The practical consequence is that your monthly inspection routine is not just maintenance, it is also your insurance position. A leak caught in week two is a sudden discovery; the same leak found in month six is a denied claim. Our guide on insurance coverage for slow leaks walks through how insurers draw this line and what documentation helps your case.
The CDC advises that mold should be removed promptly and the moisture problem fixed, since mold will return as long as the dampness continues, per its tips for cleaning up mold. Cleaning the cabinet without fixing the drip is temporary.
Frequently Asked Questions
How do I know if my under-sink leak has caused mold?
Look for the classic signs: a persistent musty smell in the cabinet, dark staining or speckling on the cabinet floor and back panel, and soft or crumbling wood. Surface mold on a hard cabinet floor can often be cleaned, but mold inside swollen particle board or the wall behind the cabinet usually means removing the affected material.
My cabinet floor is damp but I cannot find the drip. What now?
Dry everything thoroughly, lay down paper towels across the cabinet floor, and check back in 24 hours. The wet spot on the paper shows you exactly where water is landing, which narrows the source. Also test with the faucet running and the basin draining, since drain-side leaks only appear under use.
Can I just put a tray under the pipes and ignore a small drip?
A tray catches the water but does not fix the leak, and a drip that wets the tray still raises humidity inside the cabinet. Trays are a fine temporary measure while you schedule the fix, not a solution. Slow drips tend to get worse as washers continue to degrade.
How much does it cost to replace a water-damaged sink cabinet floor?
A DIY cabinet floor replacement with plywood typically costs $30 to $80 in materials plus a few hours of work. Having a handyman do it runs $200 to $500 depending on cabinet size and whether adjacent cabinets are involved. If mold remediation in the wall cavity is needed, costs climb into the four figures.
Should I use the garbage disposal if the cabinet underneath is damp?
Running the disposal does not make a drain leak worse than running the faucet does, since both send water through the same drain assembly. But dampness that only appears with use still causes the same long-term damage as a supply-side leak. Fix the connection, then use the sink normally.
What to do next
Open every sink cabinet in the house this week and run the three-minute inspection: look with a flashlight, feel for dampness, smell for mustiness, and run the water while you watch the connections. Tighten anything loose and replace cracked washers and aging supply lines.
If you find damage that goes beyond a simple drip, especially staining on the ceiling below or mold in the wall behind the cabinet, read our guide on finding hidden water leaks to map the full extent before you start repairs. And put the inspection on a monthly repeat: the cheapest water damage repair is the one you catch in week two.