

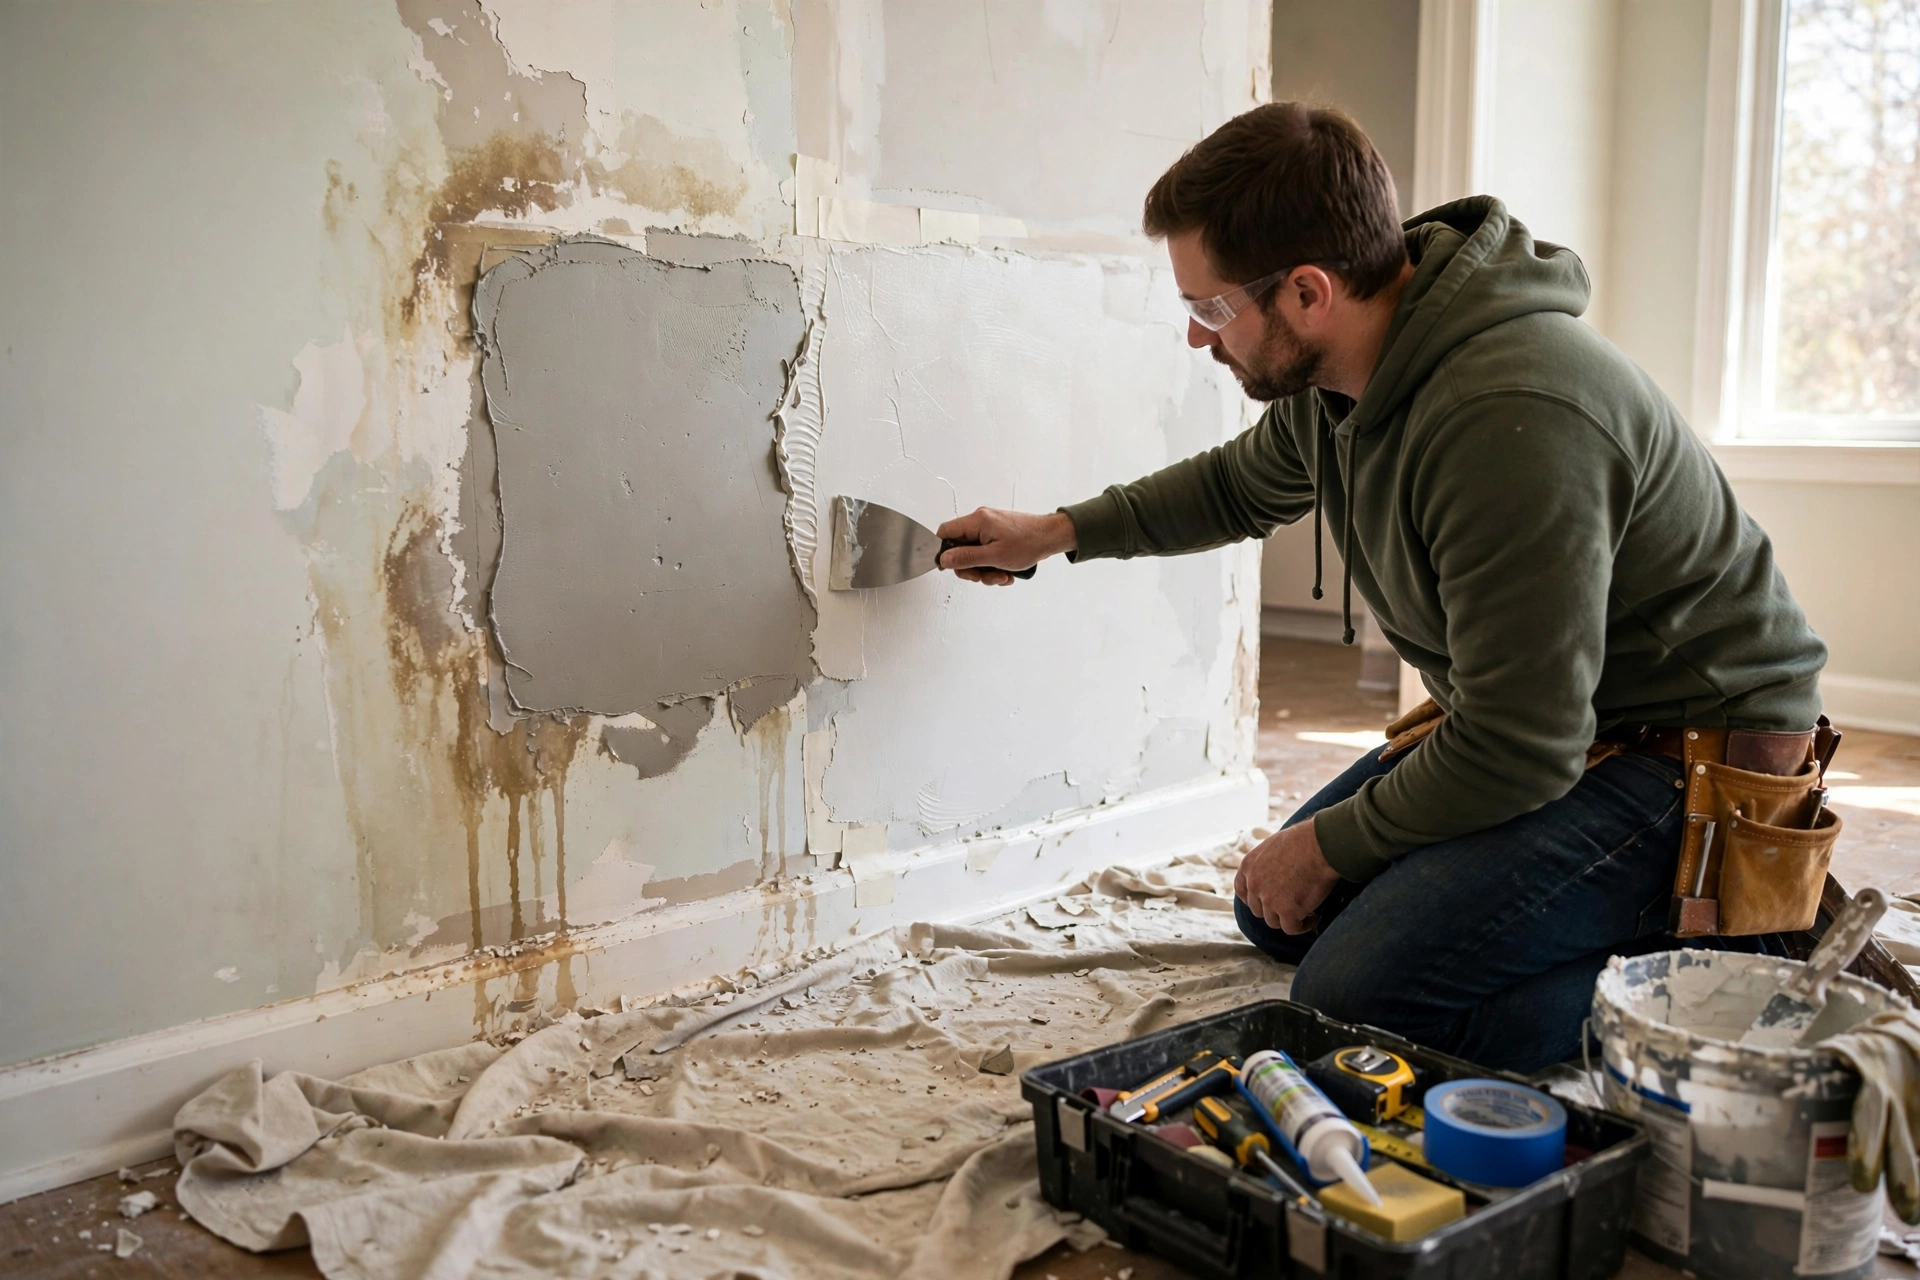
A stained, bubbling patch on the wall is every homeowner’s least favorite surprise. The good news: most water-damaged walls do not require gutting the whole room. With the right sequence (find the source, dry thoroughly, repair the surface), you can often fix the damage with minimal demolition and make the wall look like nothing ever happened.
This guide covers the full process, from diagnosing the problem to the final coat of paint, plus clear rules for when a wall section truly needs to come out.
Step one: find and fix the source
Repairing a wall before fixing the leak is like mopping while the tap runs. Common culprits include supply line leaks, drain pipe seepage, roof leaks traveling down framing, window flashing failures, and condensation from poor ventilation. Trace the stain upward and outward; water often travels along studs and pipes before showing itself far from the origin.
If you are still in the detection phase, our guide to the signs of water damage in walls walks through what to look for, including the subtle early clues most people miss. Do not start repairs until the source is fixed and the area has had at least a day with no new moisture.
Assess how bad it really is
Not all wall damage is equal. Work through this assessment before deciding on a repair method:
- The poke test: press the damaged area firmly with your thumb. If it feels solid with only surface staining, you are likely dealing with a cosmetic fix. If your thumb sinks in or the drywall crumbles, that section is structurally compromised.
- The moisture meter test: a pin-type meter reading above about 16 to 17 percent in drywall means it is still wet. Do not patch or paint over wet drywall; trapped moisture is a mold invitation.
- The smell test: a musty odor coming from the wall suggests growth inside the cavity, which surface repairs will not solve.
- The timeline test: clean water dried within 48 hours is the best case. Water that sat for days, or any sewage or floodwater exposure, usually means removal rather than repair.
Also check how far the moisture traveled. Drywall wicks water upward, sometimes a foot or more above the visible stain line. Mark the full extent with a pencil before you start cutting or patching.
Drying the wall in place
For walls that are wet but structurally sound, in-place drying often works and saves you a full replacement:
- Remove baseboards along the wet section. They trap moisture behind them and are cheap to replace.
- Drill small ventilation holes (about an inch wide) near the bottom of the wall behind where the baseboard was. This lets air circulate inside the cavity. The holes get covered when you reinstall trim.
- Aim fans at the wall surface and into the ventilation holes. Add a dehumidifier in the room running continuously.
- Give it 3 to 5 days, then re-check with the moisture meter. Patience here prevents callbacks later.
This approach works best for clean-water events caught early. The EPA’s mold and moisture guidance reinforces the core principle: materials dried within 24 to 48 hours often avoid mold problems entirely, which is why fast, aggressive drying is worth the effort.
Small repairs: stains, bubbles, and soft spots
Once the wall is verified dry, cosmetic damage is straightforward:
- Water stains: seal with a stain-blocking primer (shellac-based primers are the most reliable for water stains), then paint. Regular paint alone will let brown stains bleed straight through within weeks.
- Bubbling paint: scrape off loose paint, sand the edges smooth, skim-coat with joint compound if needed, sand again, then prime and paint.
- Small soft spots: cut out the damaged area in a clean rectangle, patch with a drywall repair patch or a cut-to-fit piece, tape the seams, apply joint compound in thin coats, sand, prime, and paint.
Always prime the repair area before painting, and paint corner to corner so the sheen matches. Touch-up spots in the middle of a wall almost always flash visibly under side lighting.
The flood cut: the pro trick that saves most of the wall
When the bottom of a wall is soaked but the upper portion is fine, professionals use a flood cut: they remove drywall from the floor up to 2 feet (sometimes 4 feet), leaving the upper wall intact. This exposes the studs and insulation for proper drying, lets them replace only the damaged insulation, and makes the repair a simple matter of hanging new drywall strips, taping, and finishing.
A flood cut at 2 feet also keeps the repair below most chair rails and makes drywall sheets divide neatly. If insulation behind the cut is wet, replace that section; wet fiberglass does not dry reliably in place and becomes a mold risk.
When the drywall has to go
Minimal demolition is great, but some situations demand full removal of affected sections:
- The drywall is soft, crumbling, or sagging across a large area
- Water sat for more than 48 hours and the wall never properly dried
- Visible mold growth covers more than a small patch, or there is mold inside the cavity
- The water was sewage or outside floodwater (contaminated water means porous materials go, no debate)
- The wall smells musty even after thorough drying
If mold is involved, factor remediation into the plan before rebuilding. Our black mold removal cost guide breaks down room-by-room pricing so you can budget realistically. And if the damage came from a sudden pipe burst or appliance failure, check our overview of what homeowners insurance typically covers before paying out of pocket; many homeowners are covered and never file.
Repainting and finishing so it never shows
The final 10 percent of the job determines whether the repair disappears or announces itself forever:
- Use stain-blocking primer on every water mark, even faint ones. They will bleed through regular primer over time.
- Match the paint sheen exactly. A flat patch on an eggshell wall catches light differently and stays visible.
- Paint the entire wall, corner to corner, not just the patched area. Color matching a few-year-old paint job by eye is nearly impossible.
- Caulk the joint between the baseboard and wall after reinstalling trim for a clean, finished line.
Good indoor air quality during finishing matters too; ventilate well while primers and paints cure, as the EPA’s indoor air quality resources recommend.
Frequently Asked Questions
Can water-damaged drywall dry out on its own?
Surface moisture evaporates, but drywall that wicked up significant water usually needs active help: airflow, dehumidification, and often ventilation holes or baseboard removal. Left alone, the inside of the wall stays damp long enough for mold to take hold.
How do I know if there is mold inside the wall?
Musty odors, moisture meter readings that stay high, and staining that returns after drying are the main clues. Pros confirm with small inspection holes or borescopes. If you suspect it, do not seal the wall up with fresh paint until you know.
Do I need to replace insulation behind a wet wall?
If fiberglass insulation got soaked, yes, replace the wet sections. It loses insulating value when wet and rarely dries completely in place. Closed-cell spray foam, if present, often survives wetting and can stay.
Will homeowners insurance pay for wall repairs?
If the cause was sudden and accidental, like a burst pipe, the resulting wall damage is typically covered minus your deductible. Gradual leaks and flood damage usually are not. Document everything before repairs begin.
How long should I wait before painting?
Until moisture meter readings are back to normal dry baselines and have held steady for at least 24 to 48 hours. Painting over damp drywall traps moisture and virtually guarantees peeling paint or mold later.
What to do next
Most wall water damage follows a forgiving formula: stop the source, dry aggressively, verify with a meter, then repair the surface properly with stain-blocking primer and full-wall paint. If you are at the very start of a water emergency, run through our first-hour water damage checklist first so nothing urgent gets missed while you plan the wall repair.